情侣相册LikeGirl
情侣相册LikeGirl
目录
[toc]
背景
如果有女朋友,那么可以为她搞一个这么精致的项目哦。
如果没,可以先准备下,有了后,可以快速上手。哈哈哈
介绍
- 项目源码:
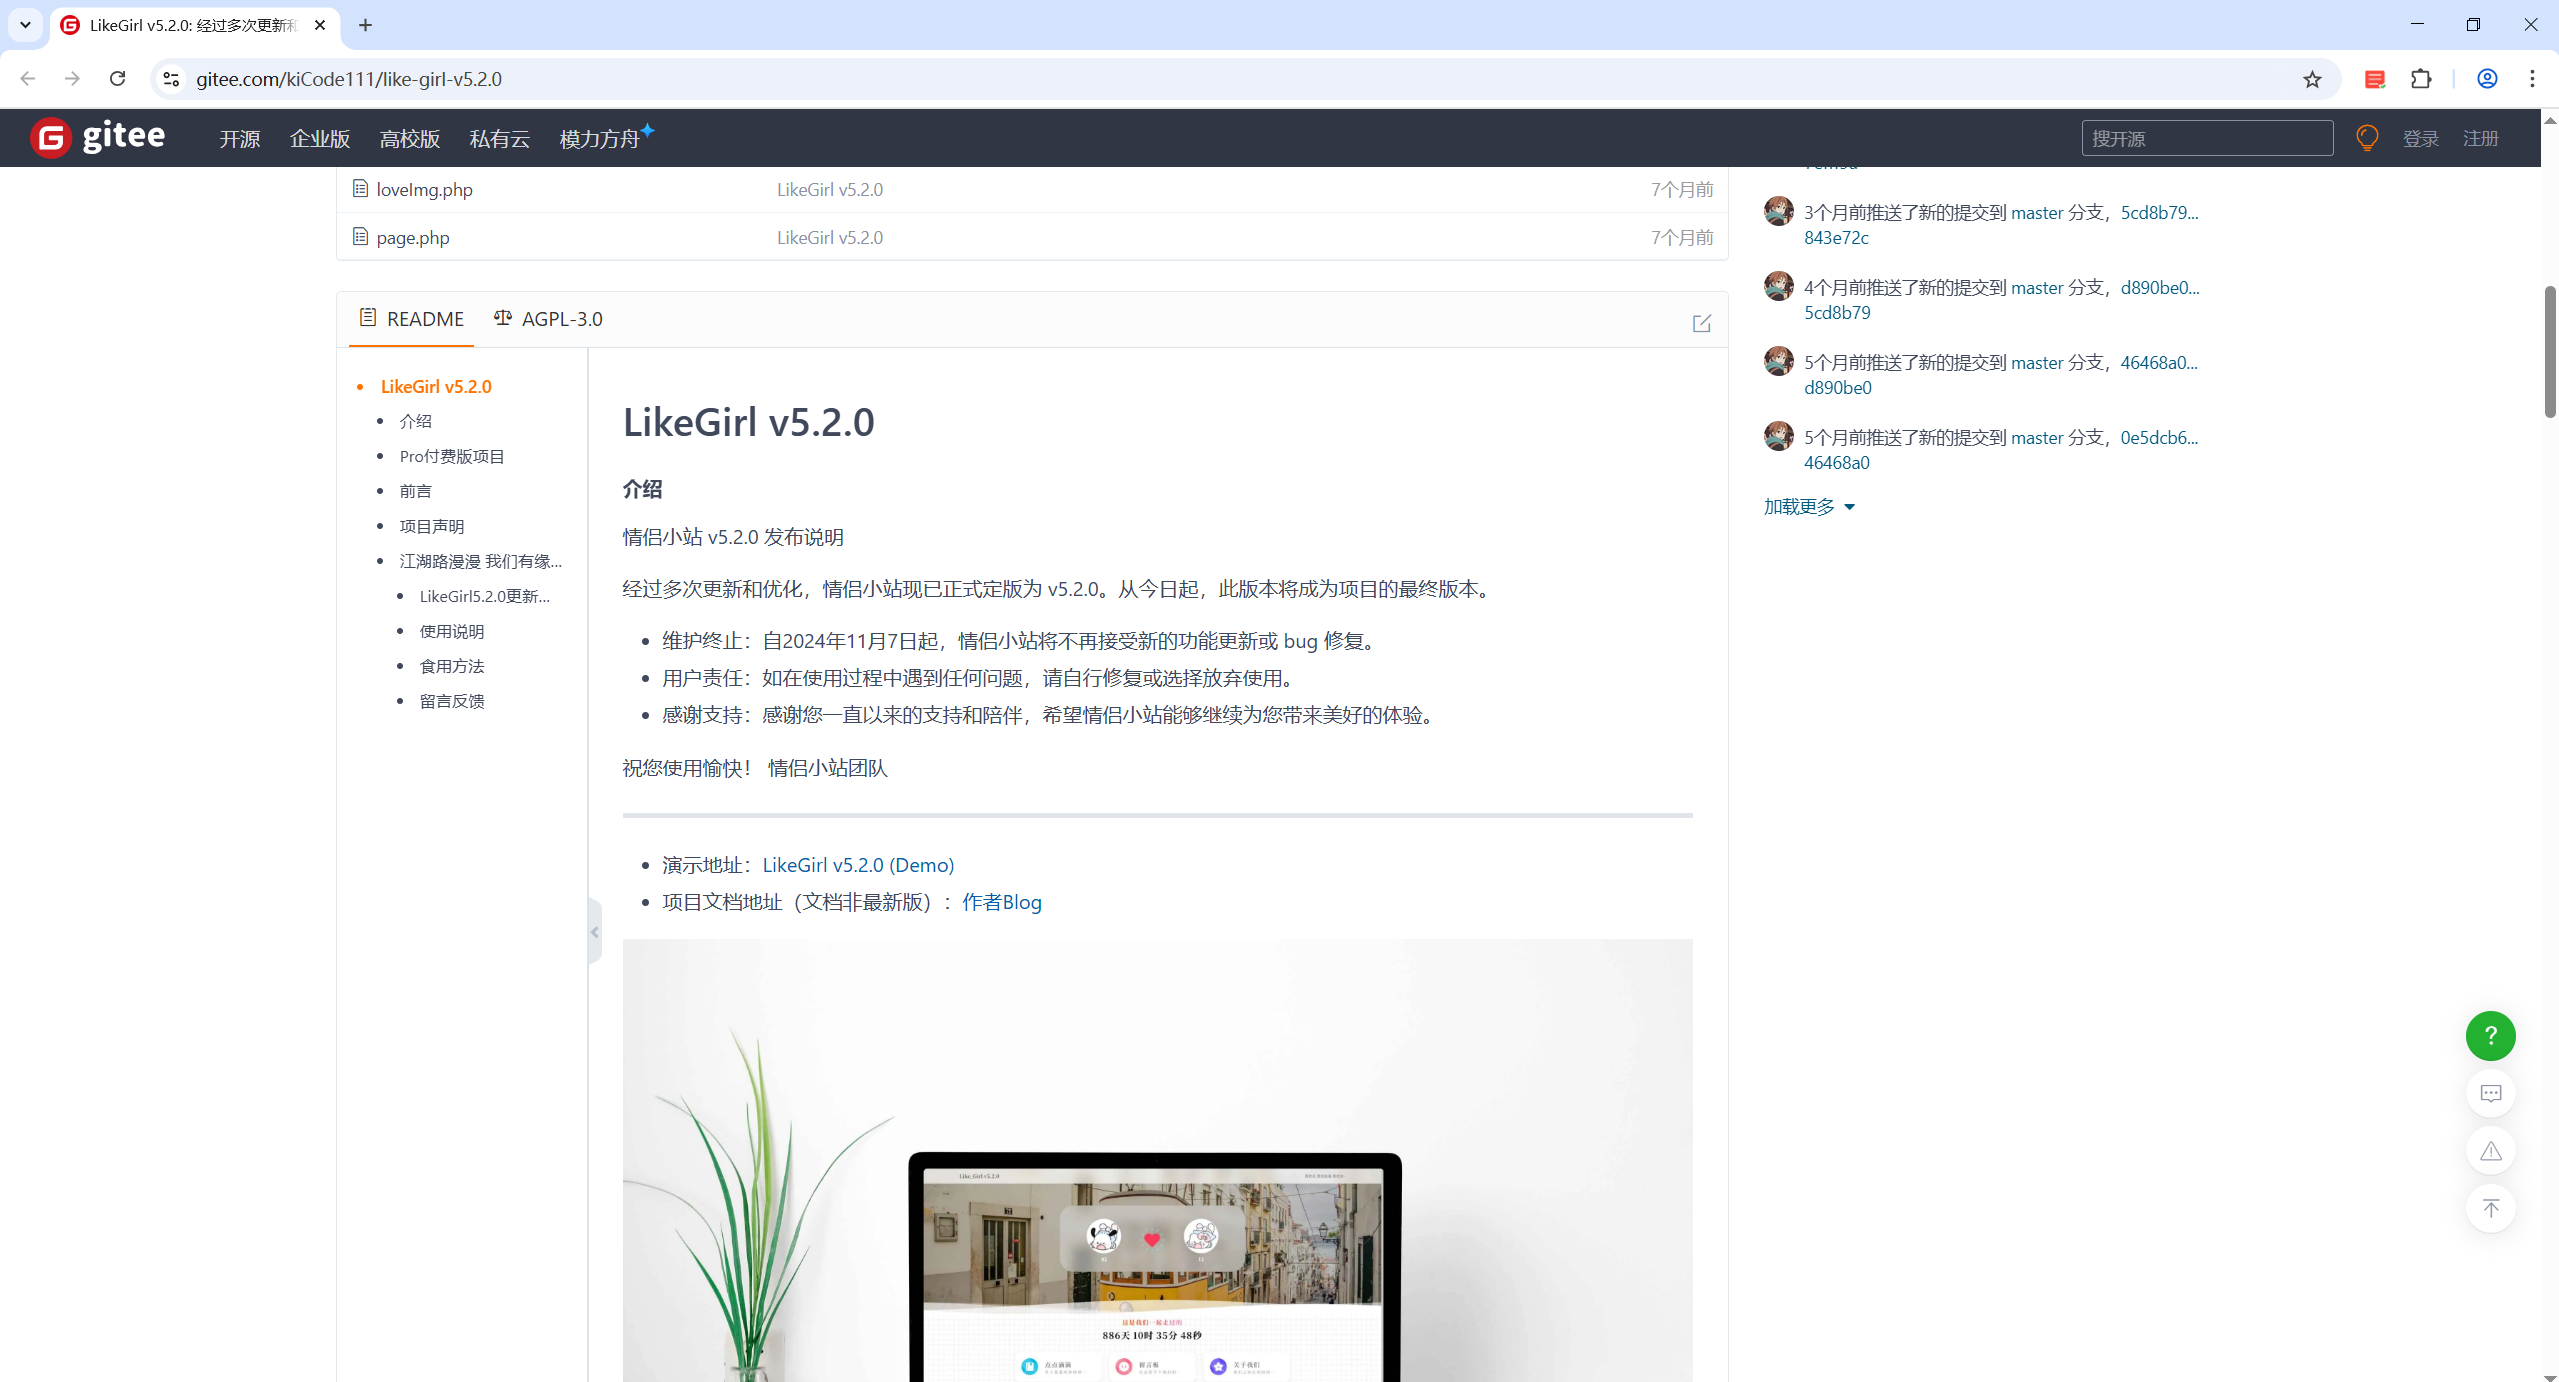
https://gitee.com/kiCode111/like-girl-v5.2.0
本项目是一个纪录情侣间浪漫故事的的工具,可以纪录文章、上传旅游/生活相册、一起完成的情侣愿望清单、开放留言获取朋友祝福。
- 作者关于本项目的博客:
https://blog.kikiw.cn/index.php/archives/52/

like-girl项目有很多版本,作者为每个版本都单独建立了一个代码仓库,最新版本是v5.2.0。
版权
警告
次文档为自己实际部署like girl项目的操作文档,版权归原作者所有。涉及的源码请进原作者qq群自行获取。如部署过程里遇到任何问题,可在qq群里联系我帮助解决,感谢。
qq群:

仓库地址:https://gitee.com/kiCode111/like-girl-v5.2.0
开源版demo https://lovey.kikiw.cn/
开源版部署文档:Like Girl v5.2.0 情侣小站开源版文档 - Ki'sBlog
付费版demo https://loveli.kikiw.cn/
付费版 部署文档:
https://blog.kikiw.cn/index.php/archives/65/
微信文章地址: https://mp.weixin.qq.com/s/QscJFdoAKdgU4E-bESMVQw
前提
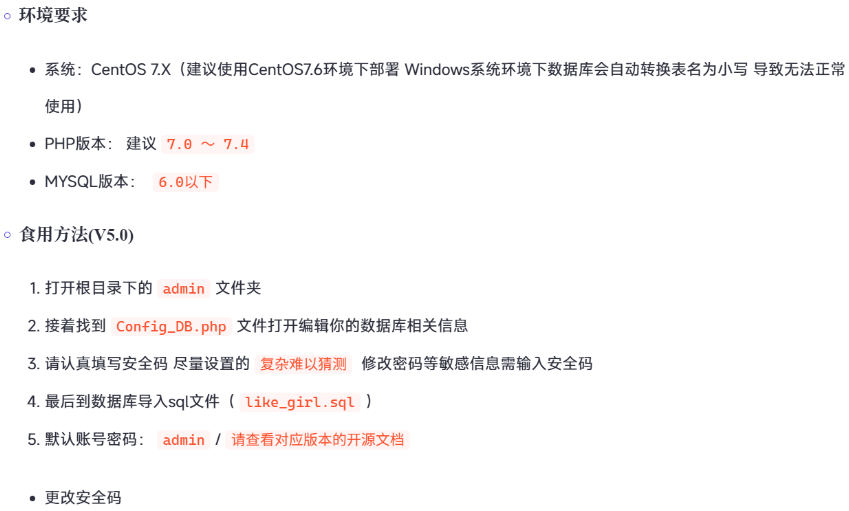
- 自己本次环境
centos7.6 1810
PHP 7.4.33
mysql 5.7.44 MySQL Community Server (GPL)
LikeGirl v5.2.0特别注意:
自己本次是将like girl项目部署在家庭里的虚机,然后通过frp暴露出去的哦,具体细节见下文。
接下来,开始手把手带你部署次项目。
源码作者已提供,具体部署过程,此篇文档也非常详细,只要有手,按照文档一步步来,就肯定会成功的。(有任何问题,可随时联系我😜)
效果
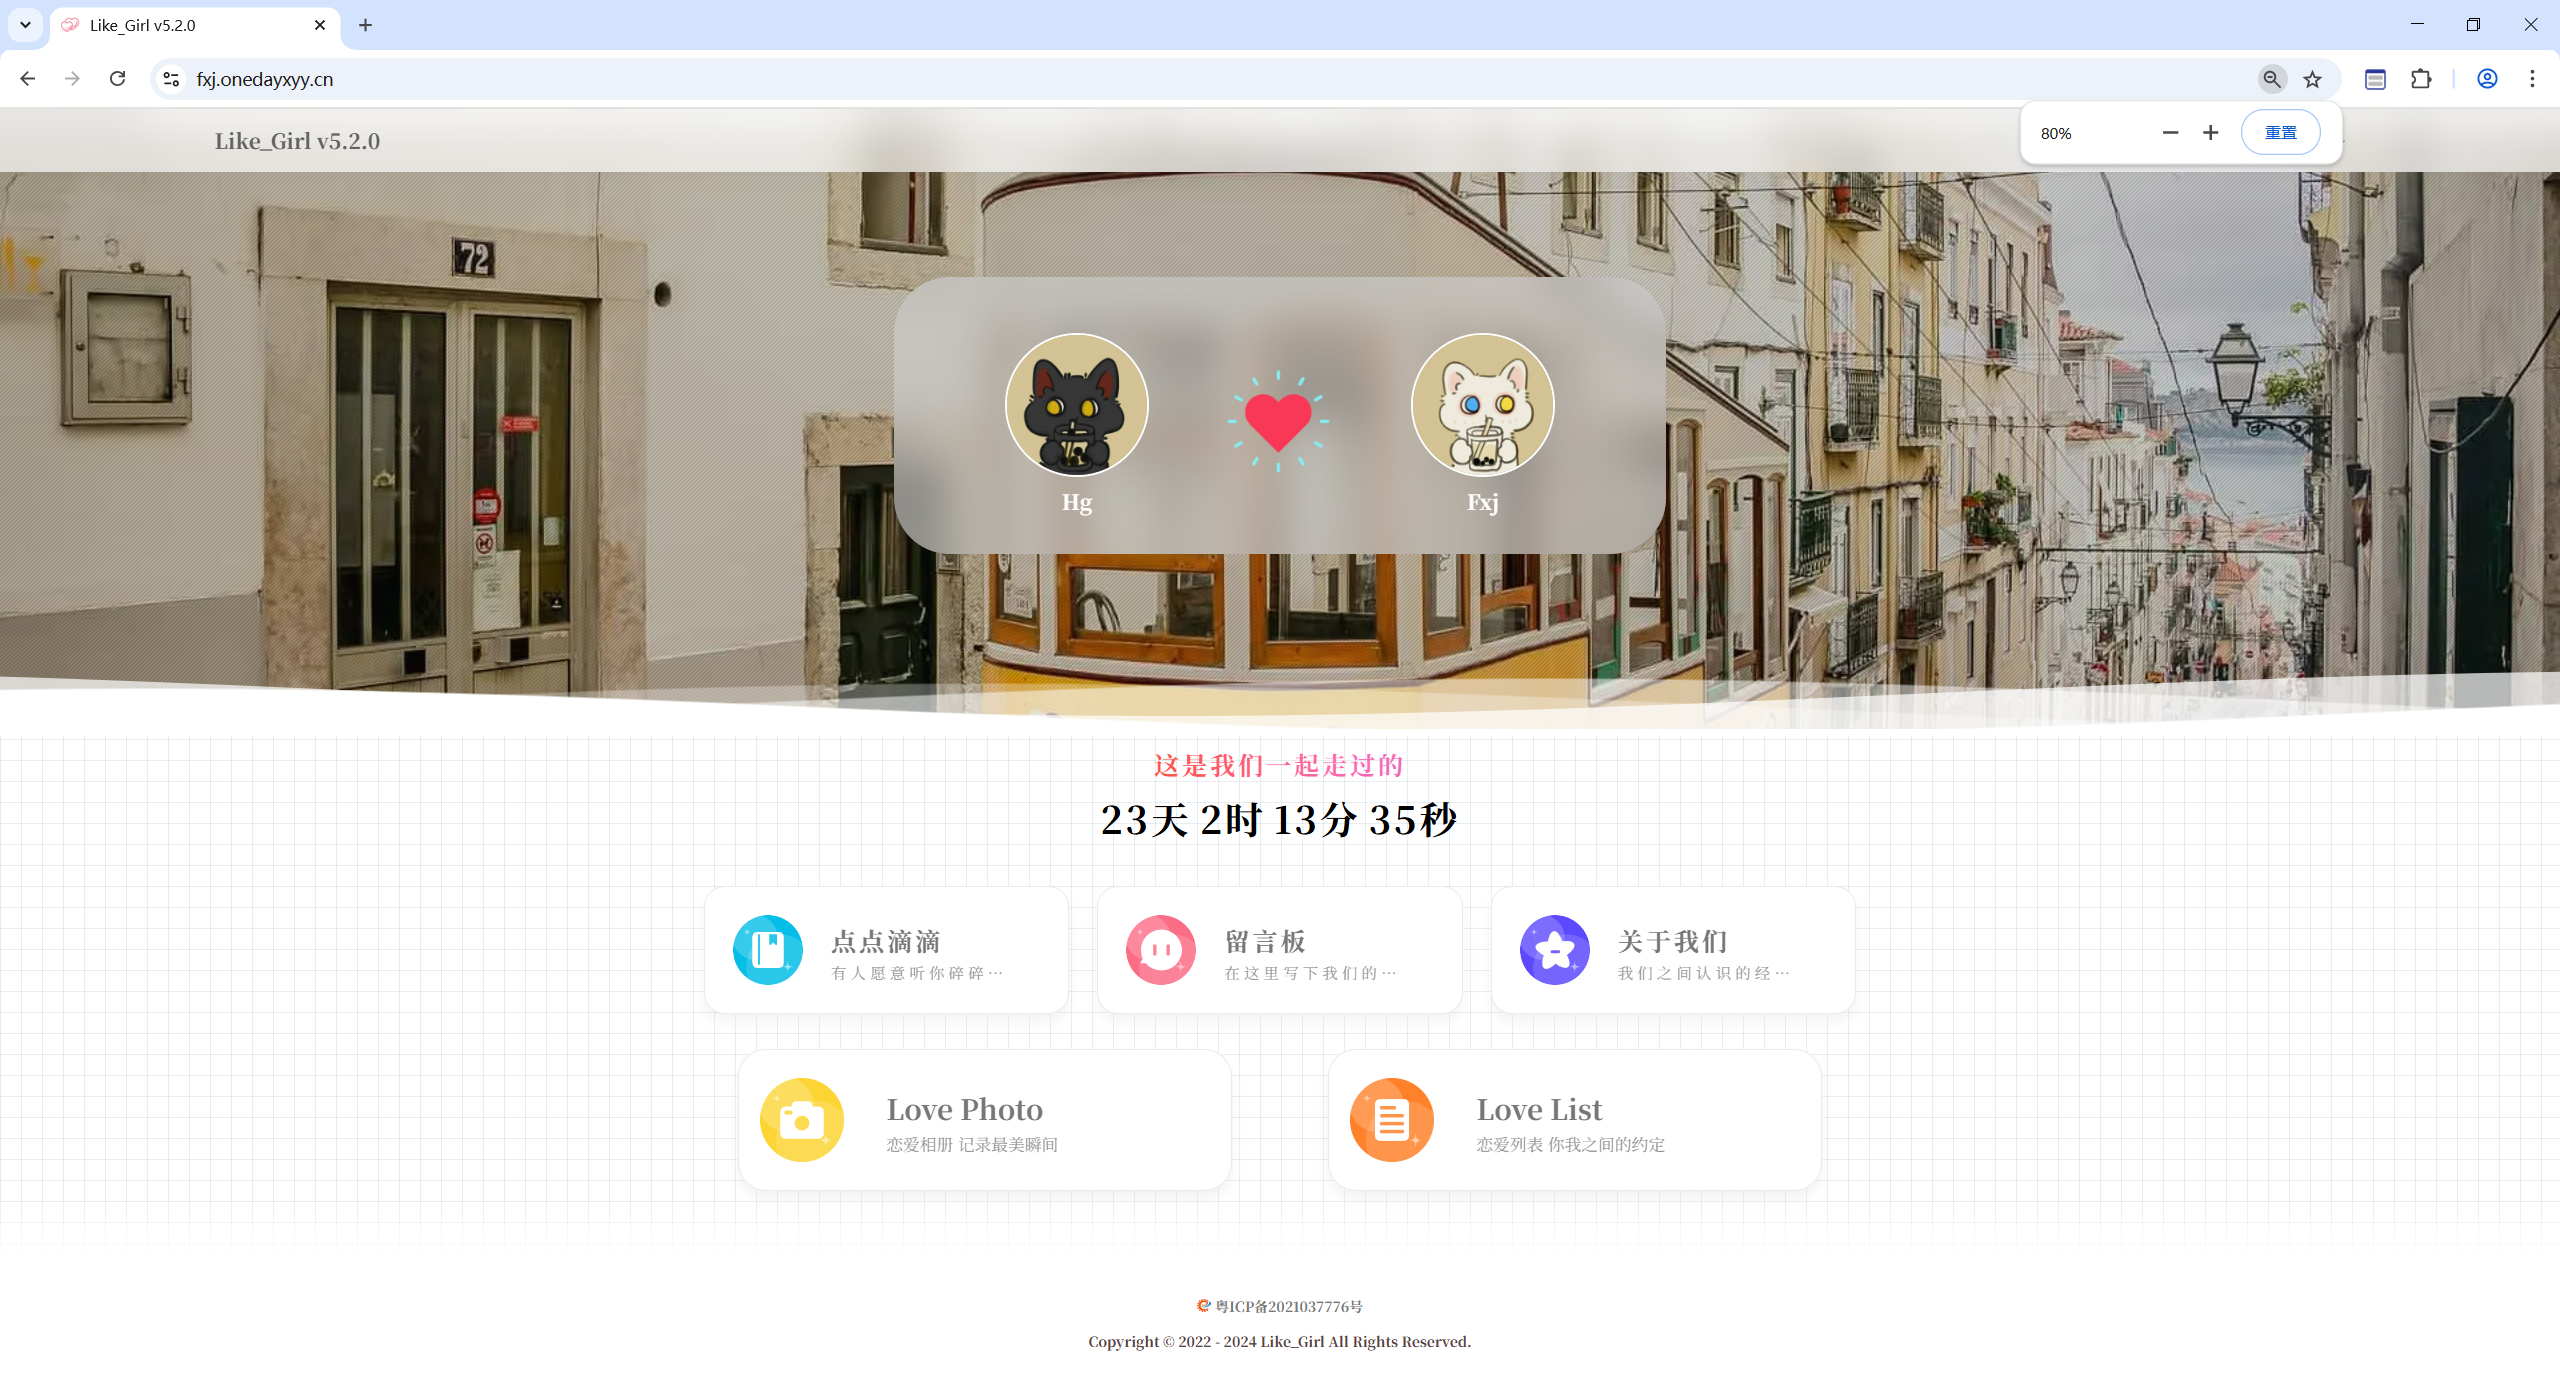
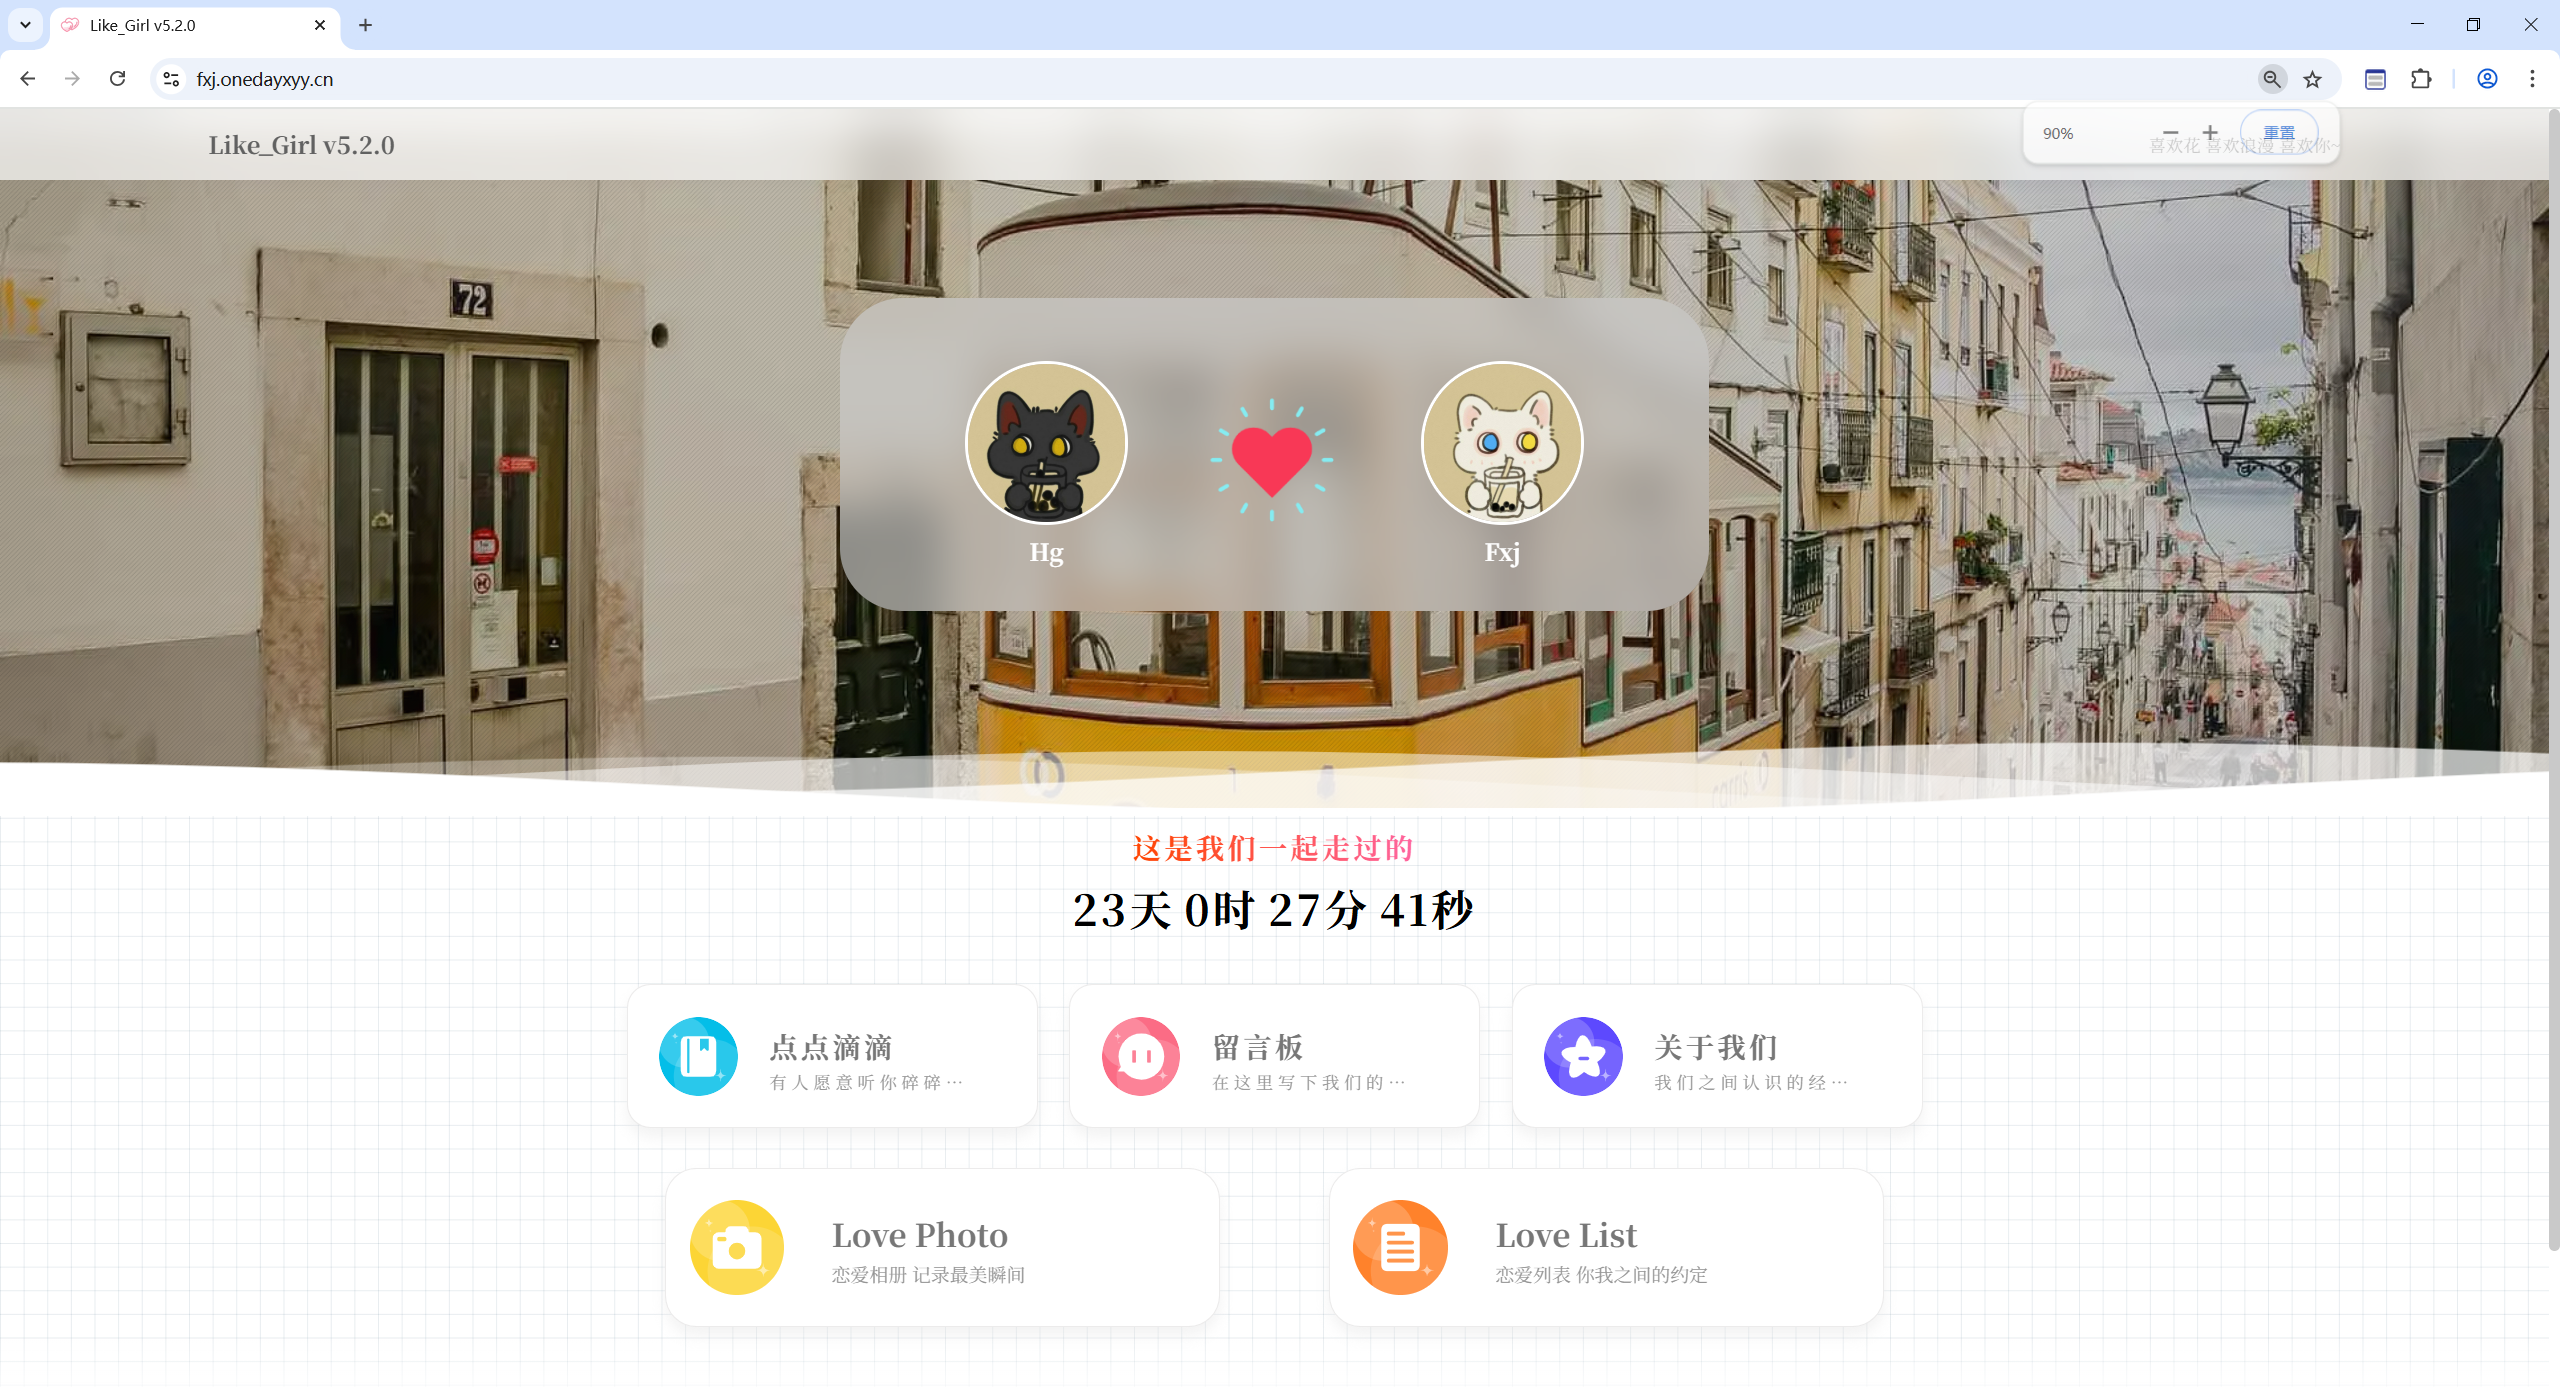
自己部署完成后的效果:
作者demo:
开源版demo https://lovey.kikiw.cn/
付费版demo https://loveli.kikiw.cn/
1、部署php
1.部署php
#安装依赖
yum install epel-release -y
yum install yum-utils -y

#添加 Remi 仓库
yum install http://rpms.remirepo.net/enterprise/remi-release-7.rpm -y
#启用 PHP 7.4 仓库
yum-config-manager --enable remi-php74

#安装 PHP 7.4 及常用扩展
yum install php php-cli php-fpm php-mysqlnd php-zip php-devel php-gd php-mbstring php-curl php-xml php-pear php-bcmath php-json php-opcache php-intl php-soap php-redis -y

#检查 PHP 版本
php -v


#如果使用 Nginx,需要启动 PHP-FPM
systemctl start php-fpm
systemctl enable php-fpm
systemctl status php-fpm以上步骤就把php部署好了,顺便我们部署下nginx,然后把LikeGirl php项目传到服务器上,用以验证php是否正常:
2.部署nginx
(1)部署nginx
tee /etc/yum.repos.d/nginx.repo <<EOF
[nginx]
name=nginx repo
baseurl=https://nginx.org/packages/centos/\$releasever/\$basearch/
gpgcheck=0
enabled=1
EOF

yum install nginx -y


systemctl start nginx
systemctl enable nginx

systemctl status nginx(2)把LikeGirl php项目传到服务器上
mkdir -p /var/www/html

#然后把LikeGirl-v5.2.0-20250308.zip 传到这个/var/www/html 路径下,然后解压

cd /var/www/html
cp LikeGirl-v5.2.0-20250308.zip /root
unzip LikeGirl-v5.2.0-20250308.zip
cp "LikeGirl v5.2.0 AllData.sql" all.sql

cd like-girl-v5.2.0-master
mv * ../
cd ../
rm -rf like-girl-v5.2.0-master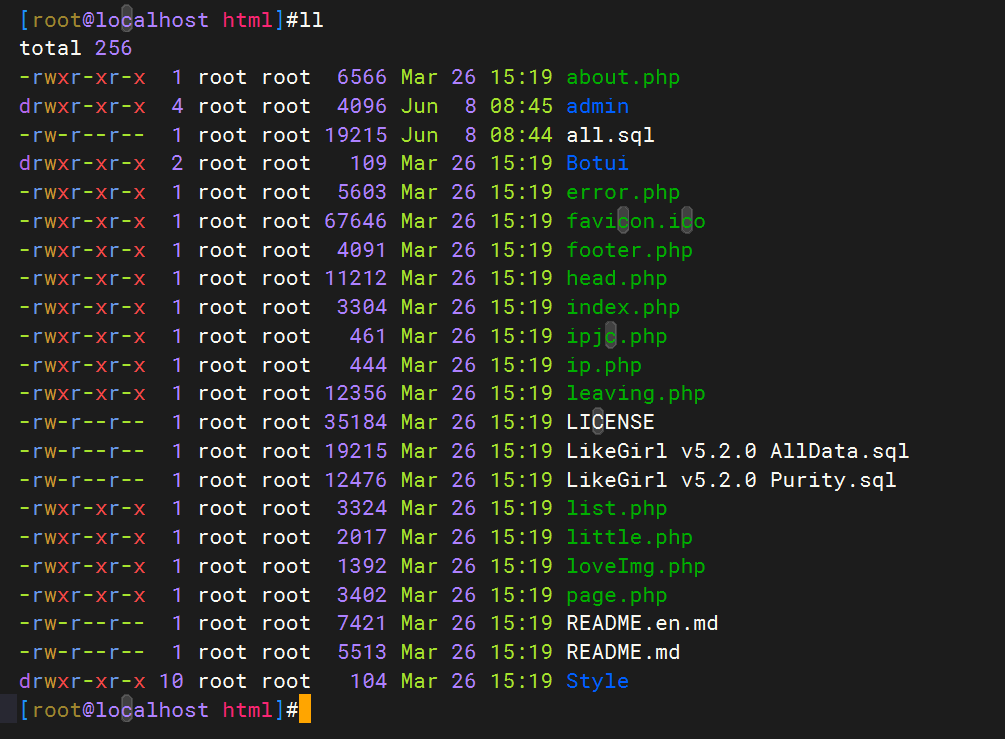
(3)配置nginx文件:
#vim /etc/nginx/conf.d/default.conf
server {
    listen 80;
    server_name love.hg.cn;
    root /var/www/html;
    index index.php index.html;

    location ~ \.php$ {
        fastcgi_pass 127.0.0.1:9000;
        fastcgi_index index.php;
        fastcgi_param SCRIPT_FILENAME $document_root$fastcgi_script_name;
        include fastcgi_params;
    }
}注意:
这里的love.hg.cn域名是自定义域名,需要在本地做好映射。
编辑自己winodws C:\Windows\System32\drivers\etc:
192.168.1.10 love.hg.cn


#备注
192.168.1.10是你虚机ip,love.hg.cn域名为随便自定义的域名。
(4)测试php是否正常
浏览器访问:love.hg.cn
此时会出现一个like girl的php页面,知识提示需要配置数据库,这里继续配置下数据库。
2、部署mysql
1.mysql部署
#添加 MySQL 5.7 Yum 仓库
sudo rpm -Uvh https://dev.mysql.com/get/mysql57-community-release-el7-11.noarch.rpm

#安装 MySQL 5.7
sudo yum install mysql-community-server -y --nogpgcheck

#启动 MySQL 并设置开机自启
sudo systemctl start mysqld
sudo systemctl enable mysqld

#获取临时密码
sudo grep 'temporary password' /var/log/mysqld.log

#安全配置 MySQL
sudo mysql_secure_installation
#1. 输入临时密码。
#2. 设置新密码(需符合复杂度要求,如 `MyNewPass@123`)。
#3. 移除匿名用户、禁止远程 root 登录、删除测试数据库等。自己具体过程如下:
[root@localhost conf.d]#sudo grep 'temporary password' /var/log/mysqld.log
2025-06-08T00:42:17.640714Z 1 [Note] A temporary password is generated for root@localhost: 1;,L(nNjJ9&Z
[root@localhost conf.d]#sudo mysql_secure_installation

Securing the MySQL server deployment.

Enter password for user root:

The existing password for the user account root has expired. Please set a new password.

New password:

Re-enter new password:
The 'validate_password' plugin is installed on the server.
The subsequent steps will run with the existing configuration
of the plugin.
Using existing password for root.

Estimated strength of the password: 100
Change the password for root ? ((Press y|Y for Yes, any other key for No) : no

 ... skipping.
By default, a MySQL installation has an anonymous user,
allowing anyone to log into MySQL without having to have
a user account created for them. This is intended only for
testing, and to make the installation go a bit smoother.
You should remove them before moving into a production
environment.

Remove anonymous users? (Press y|Y for Yes, any other key for No) : yes
Success.


Normally, root should only be allowed to connect from
'localhost'. This ensures that someone cannot guess at
the root password from the network.

Disallow root login remotely? (Press y|Y for Yes, any other key for No) : no

 ... skipping.
By default, MySQL comes with a database named 'test' that
anyone can access. This is also intended only for testing,
and should be removed before moving into a production
environment.


Remove test database and access to it? (Press y|Y for Yes, any other key for No) : yes
 - Dropping test database...
Success.

 - Removing privileges on test database...
Success.

Reloading the privilege tables will ensure that all changes
made so far will take effect immediately.

Reload privilege tables now? (Press y|Y for Yes, any other key for No) : yes
Success.

All done!
[root@localhost conf.d]#2.导入mysql数据
先来编辑下like girl项目的配置文件,再进行导入数据:
编辑下like girl项目的配置文件:
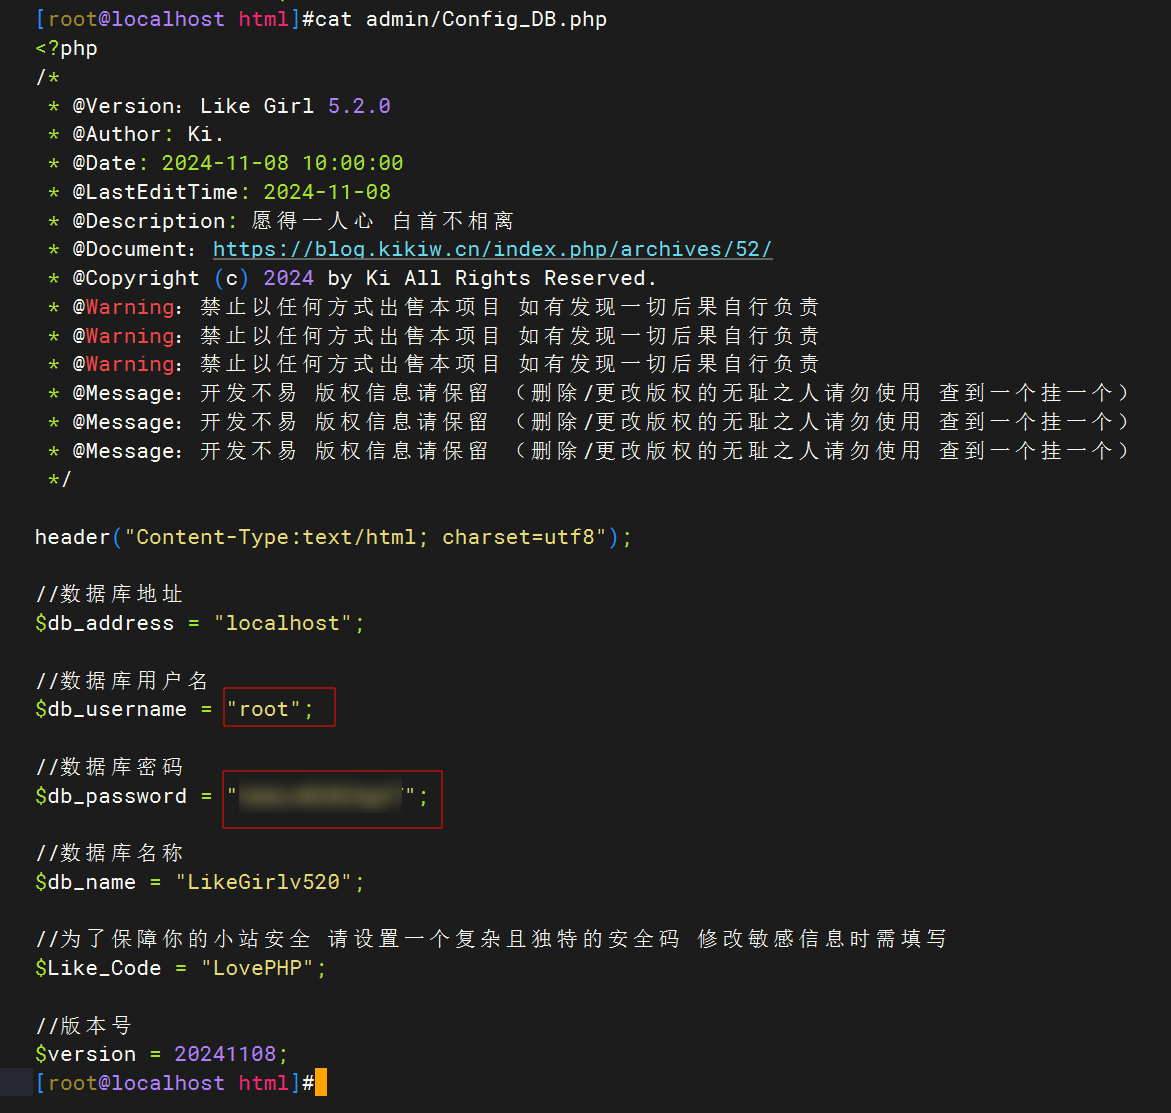
#vim /var/www/html/admin/Config_DB.php
<?php
/*
 * @Version:Like Girl 5.2.0
 * @Author: Ki.
 * @Date: 2024-11-08 10:00:00
 * @LastEditTime: 2024-11-08
 * @Description: 愿得一人心 白首不相离
 * @Document:https://blog.kikiw.cn/index.php/archives/52/
 * @Copyright (c) 2024 by Ki All Rights Reserved.
 * @Warning:禁止以任何方式出售本项目 如有发现一切后果自行负责
 * @Warning:禁止以任何方式出售本项目 如有发现一切后果自行负责
 * @Warning:禁止以任何方式出售本项目 如有发现一切后果自行负责
 * @Message:开发不易 版权信息请保留 (删除/更改版权的无耻之人请勿使用 查到一个挂一个)
 * @Message:开发不易 版权信息请保留 (删除/更改版权的无耻之人请勿使用 查到一个挂一个)
 * @Message:开发不易 版权信息请保留 (删除/更改版权的无耻之人请勿使用 查到一个挂一个)
 */

header("Content-Type:text/html; charset=utf8");

//数据库地址
$db_address = "localhost";

//数据库用户名
$db_username = "root";

//数据库密码
$db_password = "12345678";

//数据库名称
$db_name = "LikeGirlv520";

//为了保障你的小站安全 请设置一个复杂且独特的安全码 修改敏感信息时需填写
$Like_Code = "LovePHP";

//版本号
$version = 20241108;将这2个地方修改为上面创建数据库时的信息:
导入数据:
mysql -uroot -pAdmin@2024ghT

#创建数据库
create database LikeGirlv520;
use LikeGirlv520;

#导入数据
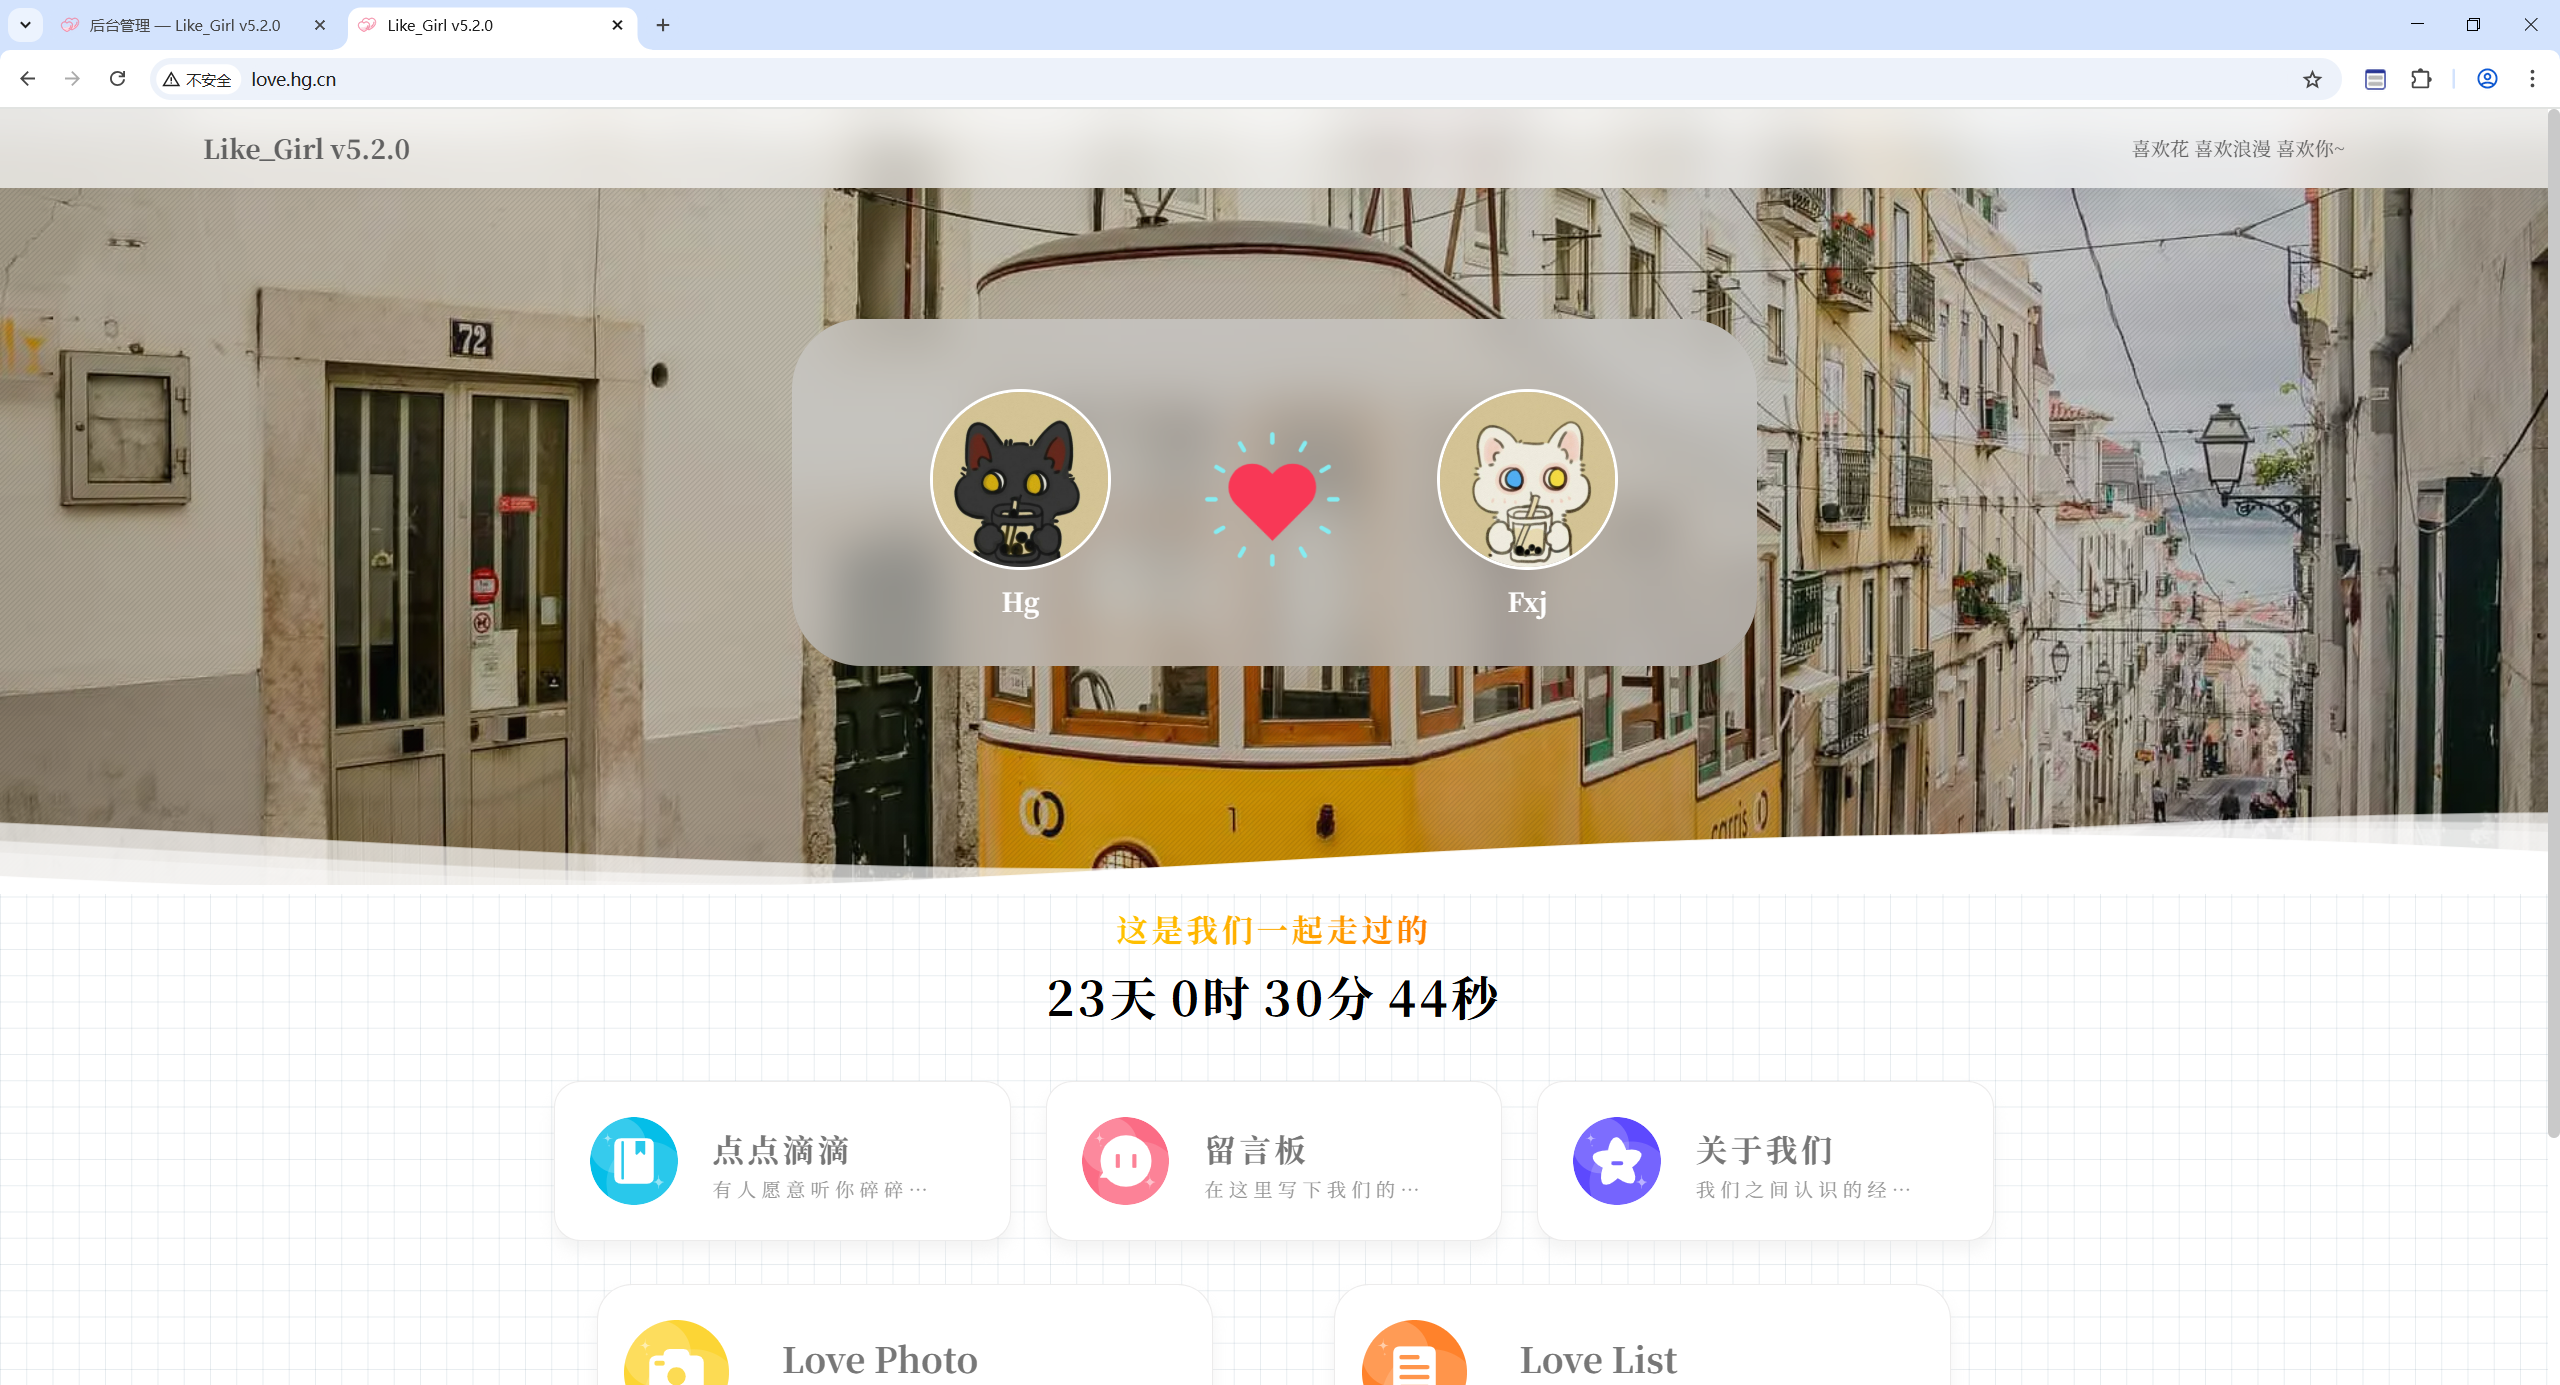
source /var/www/html/all.sql3.验证
访问首页 http://love.hg.cn/
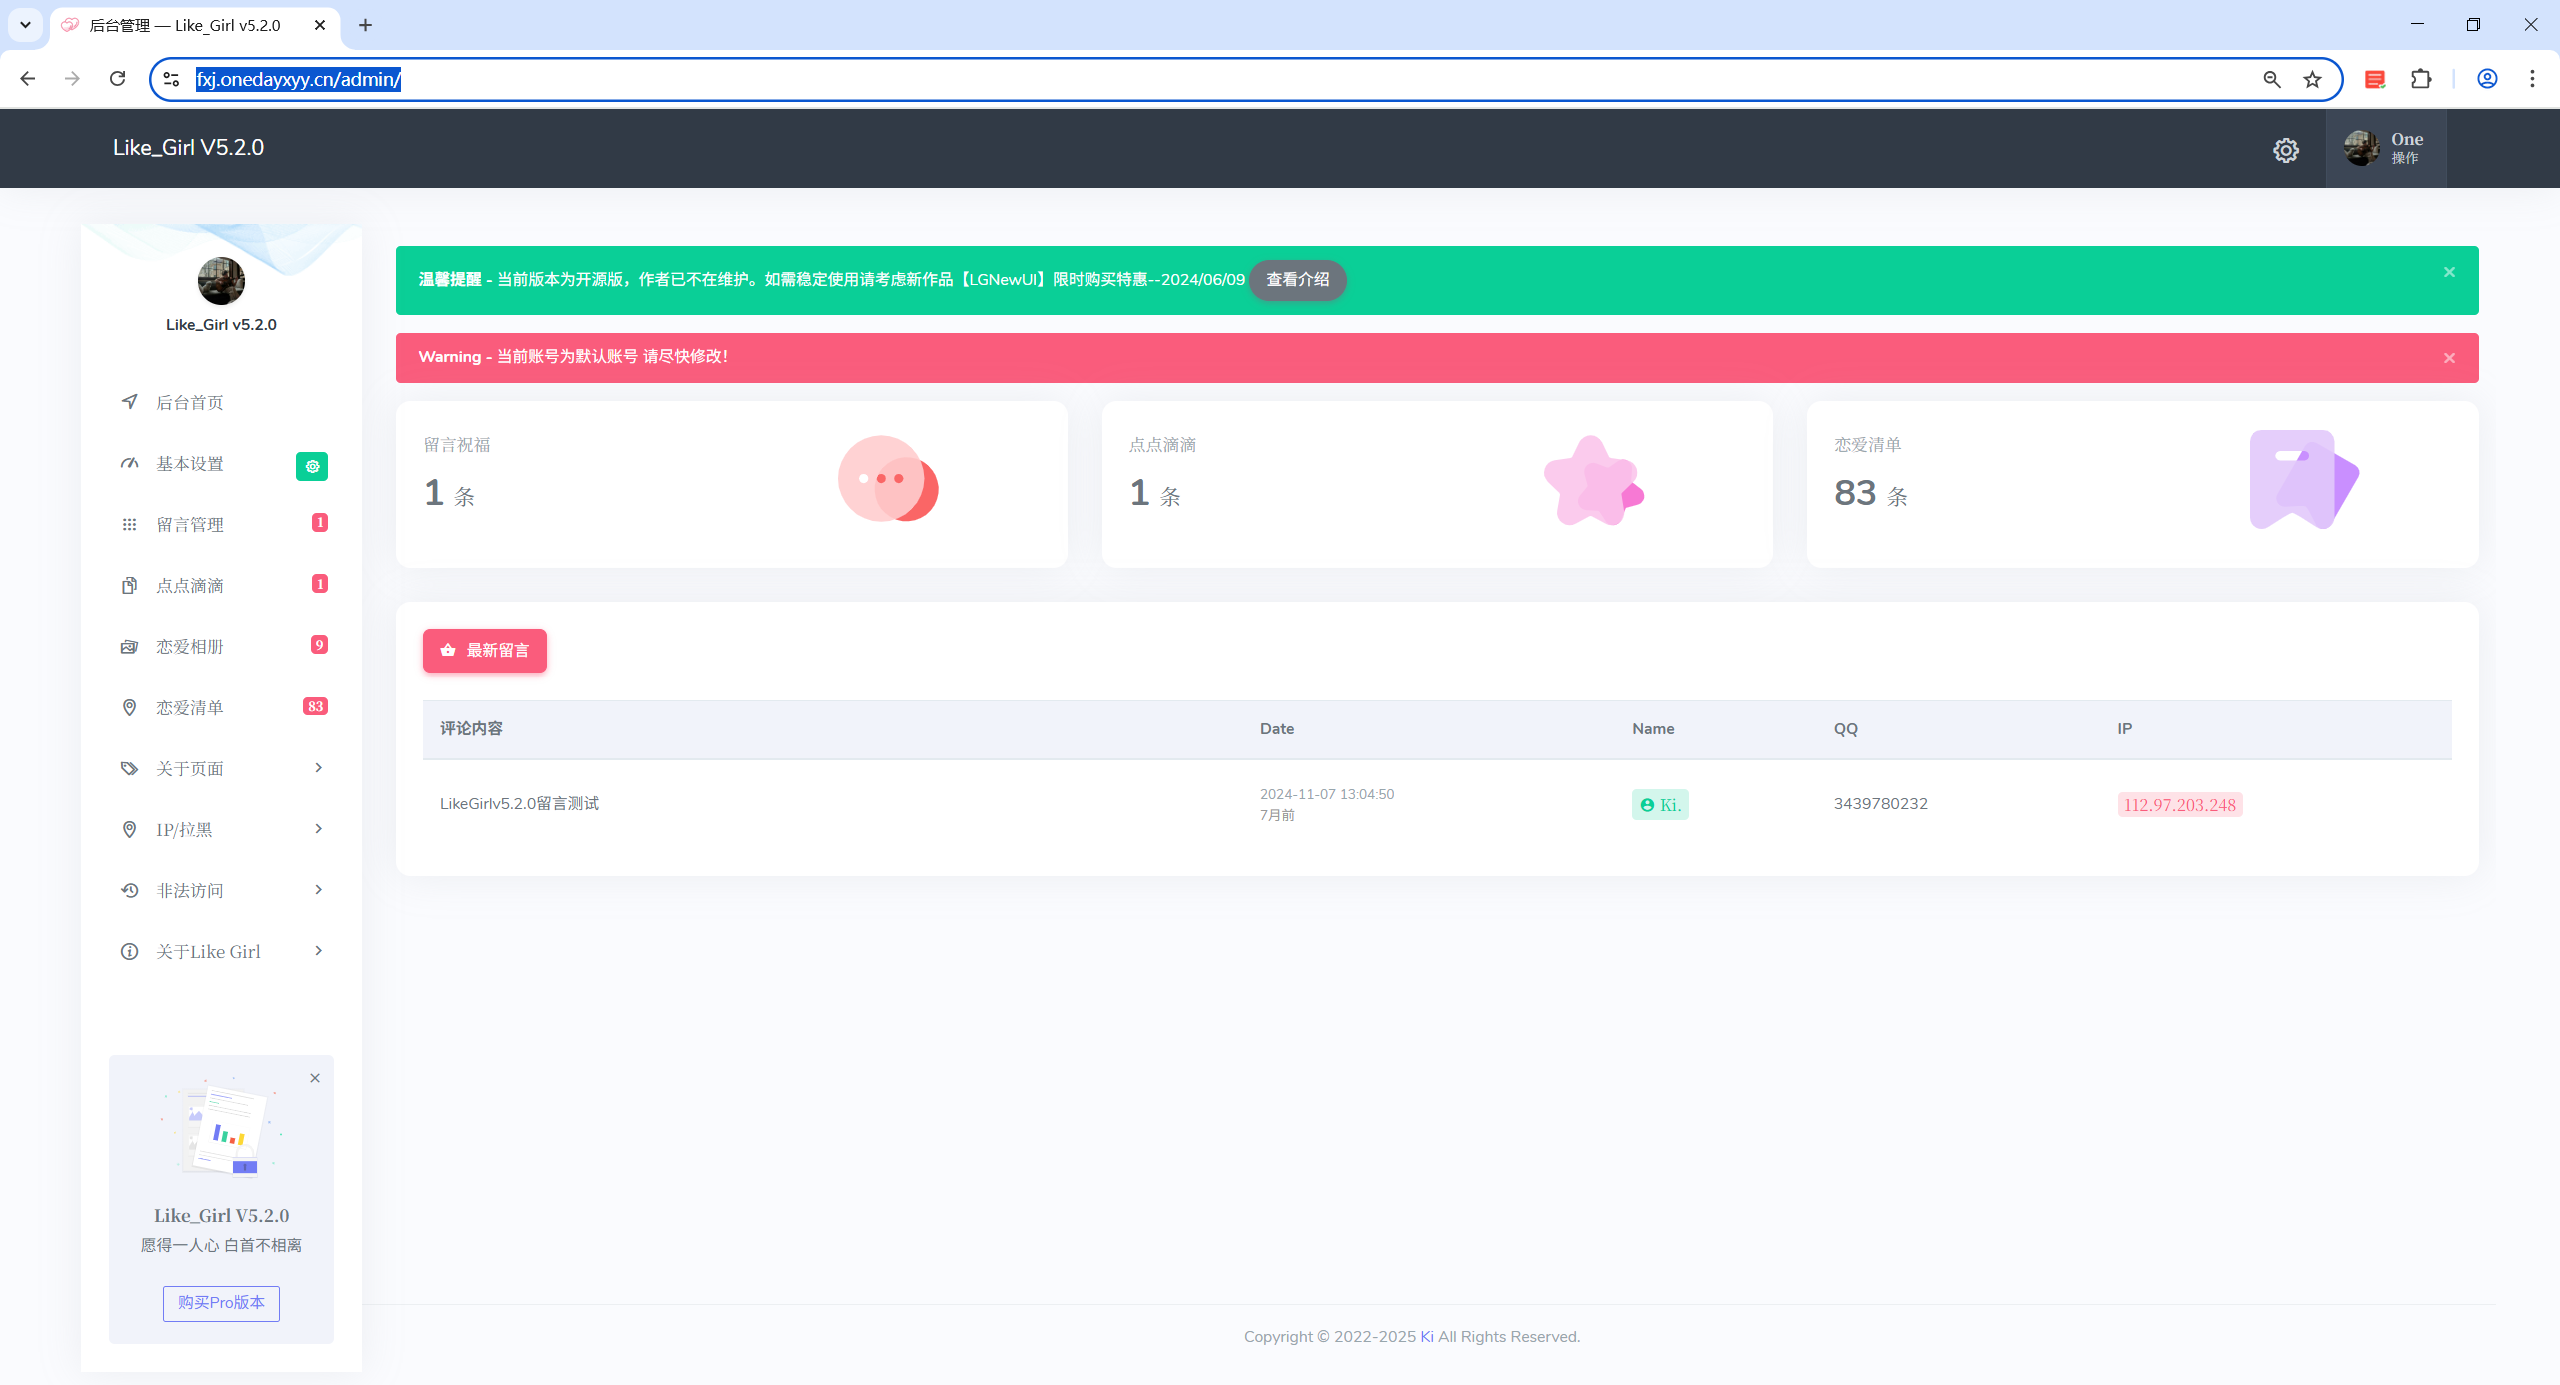
访问管理端 http://love.hg.cn/admin/
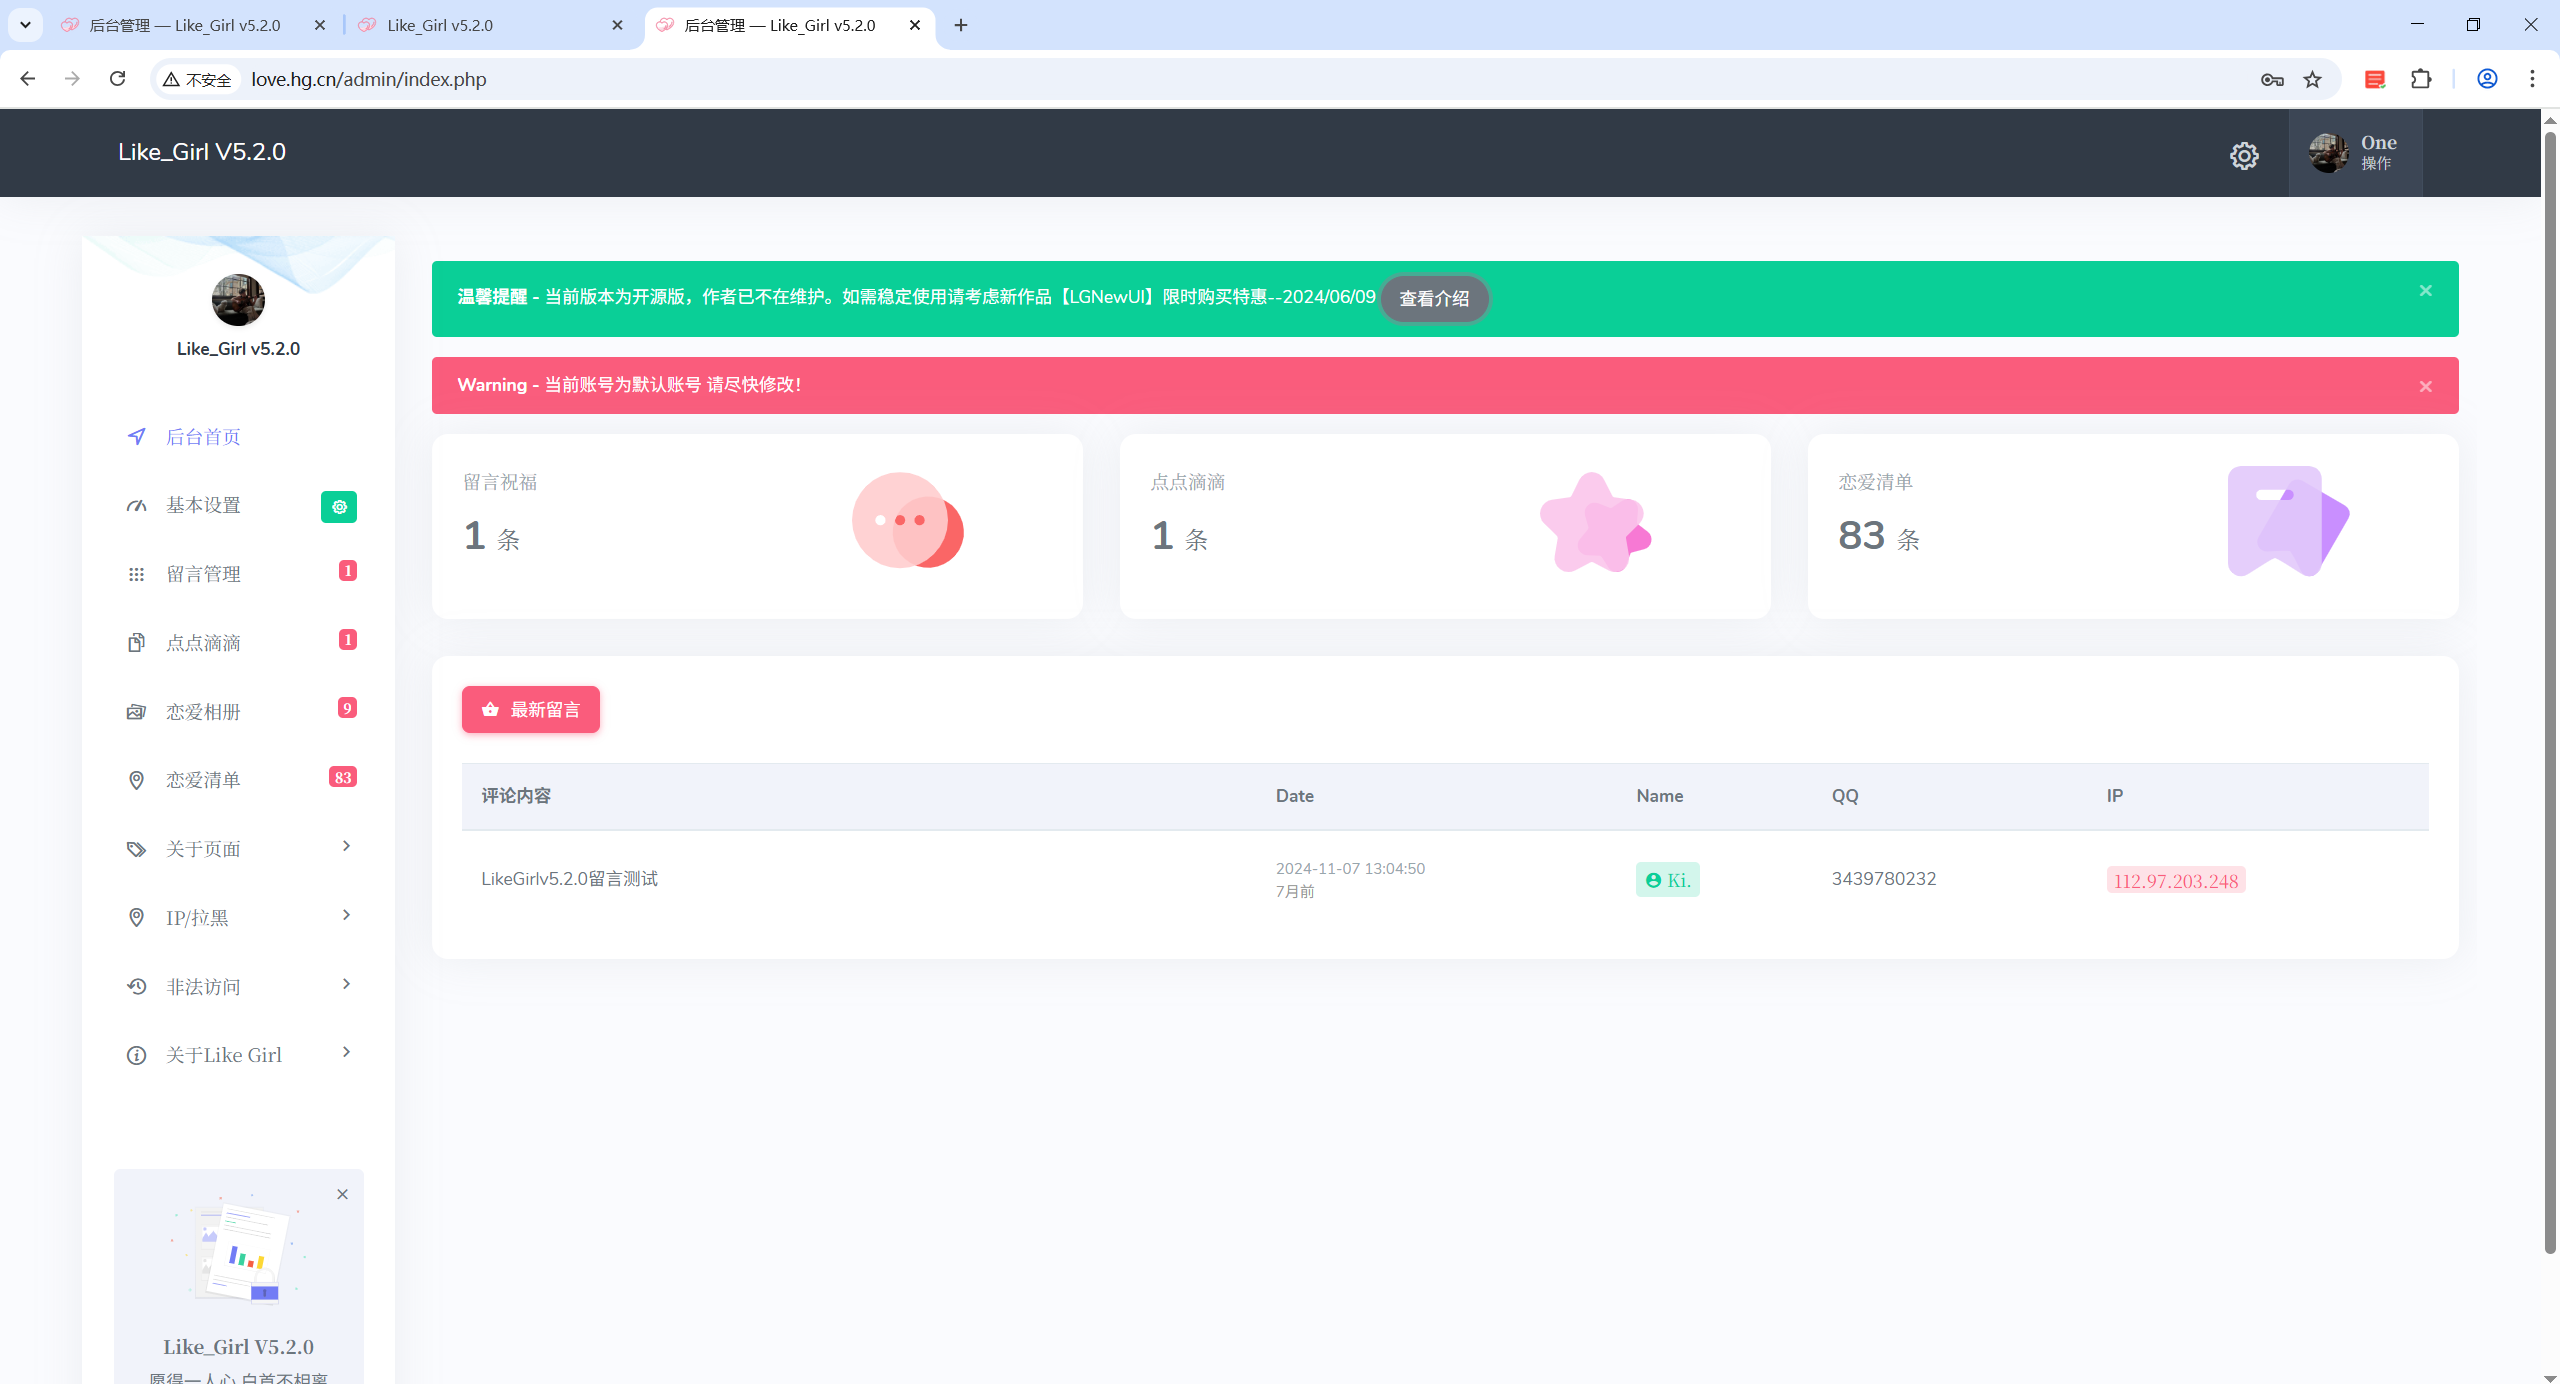
以上,就说明你的项目已经部署完成了。
以下frp配置,是因为我的like girl项目是部署在自己家里的虚机里,此时需要配置frp将这个项目给暴露出去的。如果你恰好也需要这种方式的话,请看下文;
如果以上部署你是在自己的云服务器上配置的话,那么以下步骤可忽略。
3、部署frp(扩展)
1.客户端frpc配置
#vim frpc.ini
[common]
# server_addr为云服务器IP地址
server_addr = 你自己云服务器IP地址
# server_port为服务端监听端口,bind_port
server_port = 7000
# 服务端设置的token
token = 666666

[LikeGirl]
type = tcp
local_ip = 127.0.0.1
local_port = 80
remote_port = 8089


##启动容器
docker run --restart=always --network host -d -v /root/frpc.ini:/etc/frp/frpc.ini --name frpc registry.cn-shenzhen.aliyuncs.com/mogublog_business/frpc2.服务端frps配置
#vim frps.ini
[common]
# 监听端口
bind_port = 7000
# 面板端口
dashboard_port = 7500
# 登录面板账号设置
dashboard_user = admin
# 登录面板的密码
dashboard_pwd = 123456

# 身份验证
token = 666666


##启动容器
docker run --restart=always --network host -d -v /root/frps.ini:/etc/frp/frps.ini --name frps registry.cn-shenzhen.aliyuncs.com/mogublog_business/frps3.配置云服务器的nginx
这里的域名填写为 你自己的域名就好。
[root@wiki ~]# vim /etc/nginx/conf.d/fxj.onedayxyy.cn.conf
server {
    listen 80;
    server_name fxj.onedayxyy.cn;
    return 301 https://$host$request_uri;
}

server {
    listen 443 ssl;
    server_name fxj.onedayxyy.cn;

    # PHP 项目配置(需根据实际路径调整)
    root /var/www/html;  # 替换为你的 PHP 项目路径
    index index.php index.html;

    location / {
        try_files $uri $uri/ /index.php?$query_string;
    }

    location ~ \.php$ {
        # 代理到 FRP 暴露的端口(本地回环地址)
        proxy_pass http://127.0.0.1:8089;
        proxy_set_header Host $host;
        proxy_set_header X-Real-IP $remote_addr;
        proxy_set_header X-Forwarded-For $proxy_add_x_forwarded_for;
        proxy_set_header X-Forwarded-Proto $scheme;

        # 如果 PHP 由本地 FastCGI 处理,取消注释以下配置
        # fastcgi_pass unix:/var/run/php/php7.4-fpm.sock;
        # fastcgi_index index.php;
        # include fastcgi_params;
    }

    ssl_certificate             /etc/letsencrypt/live/onedayxyy.cn/fullchain.pem;
    ssl_certificate_key         /etc/letsencrypt/live/onedayxyy.cn/privkey.pem;

    ssl_session_timeout 5m;
    ssl_protocols TLSv1.1 TLSv1.2 TLSv1.3;
    ssl_ciphers EECDH+CHACHA20:EECDH+AES128:RSA+AES128:EECDH+AES256:RSA+AES256:EECDH+3DES:RSA+3DES:!MD5;
    ssl_prefer_server_ciphers on;
    add_header Strict-Transport-Security "max-age=31536000";

    access_log /var/log/nginx/umami.onedayxyy.cn.https.log;
}
[root@wiki ~]#扩展:当在云服务器上直接部署时,其nginx配置文件如下(配置了https)
server {
    listen 80;
    server_name fxj.onedayxyy.cn;
    return 301 https://$host$request_uri;
}

server {
    listen 443 ssl;
    server_name fxj.onedayxyy.cn;

    # PHP 项目配置(需根据实际路径调整)
    root /var/www/html;  # 替换为你的 PHP 项目路径
    index index.php index.html;

    location ~ \.php$ {
        fastcgi_pass 127.0.0.1:9000;
        fastcgi_index index.php;
        fastcgi_param SCRIPT_FILENAME $document_root$fastcgi_script_name;
        include fastcgi_params;
    }

    ssl_certificate             /etc/letsencrypt/live/onedayxyy.cn/fullchain.pem;
    ssl_certificate_key         /etc/letsencrypt/live/onedayxyy.cn/privkey.pem;

    ssl_session_timeout 5m;
    ssl_protocols TLSv1.1 TLSv1.2 TLSv1.3;
    ssl_ciphers EECDH+CHACHA20:EECDH+AES128:RSA+AES128:EECDH+AES256:RSA+AES256:EECDH+3DES:RSA+3DES:!MD5;
    ssl_prefer_server_ciphers on;
    add_header Strict-Transport-Security "max-age=31536000";

    access_log /var/log/nginx/umami.onedayxyy.cn.https.log;
}4.验证
访问首页:
访问后端:
https://fxj.onedayxyy.cn/admin/
总结
这个项目整体还是很有意思的,很清新,体验下来也丝滑。可以日常记录一些有意义的生活瞬间,无聊是情侣或者婚后的日子。
次项目为开源版本,作者已不再维护,手头充足的情况,可考虑入手作者的付费项目。
like girl Pro付费版项目
如实在需要进行记录使用 可以考虑入手付费版(Pro)也当是支持作者的一份小项目 感谢
- 演示地址:LGNewUi (Demo)
- 项目文档地址:查看Pro版本文档介绍
关于我
我的博客主旨:
- 排版美观,语言精炼;
- 文档即手册,步骤明细,拒绝埋坑,提供源码;
- 本人实战文档都是亲测成功的,各位小伙伴在实际操作过程中如有什么疑问,可随时联系本人帮您解决问题,让我们一起进步!
🍀 个人网站

🍀 微信二维码
x2675263825 (舍得), qq:2675263825。

🍀 微信公众号
《云原生架构师实战》

🍀 csdn
https://blog.csdn.net/weixin_39246554?spm=1010.2135.3001.5421

🍀 知乎
https://www.zhihu.com/people/foryouone

最后
如果你还有疑惑,可以去我的网站查看更多内容或者联系我帮忙查看。
如果你有更好的方式,评论区留言告诉我。谢谢!
好了,本次就到这里了,感谢大家阅读,最后祝大家生活快乐,每天都过的有意义哦,我们下期见!

