
源码编译安装nginx
本篇文章介绍通过源码编译方式安装nginx
实战:源码编译安装Nginx-2024.12.30(测试成功)
目录
[toc]
环境
centos7.6 1810
nginx-1.14.2.tar.gz源码
nginx-1.14.2.tar.gz
前提
#准备下环境(检查系统是否安装了如下包,如果没,直接安装)
yum install -y gcc-c++ openssl openssl-devel pcre pcre-devel zlib zlib-devel -y #如果你用的是CentOS,那么搭环境非常简单,安装这些包后,make就能准备好nginx编译的基本环境1、下载源码包
来到nginx官网,下载源码包:
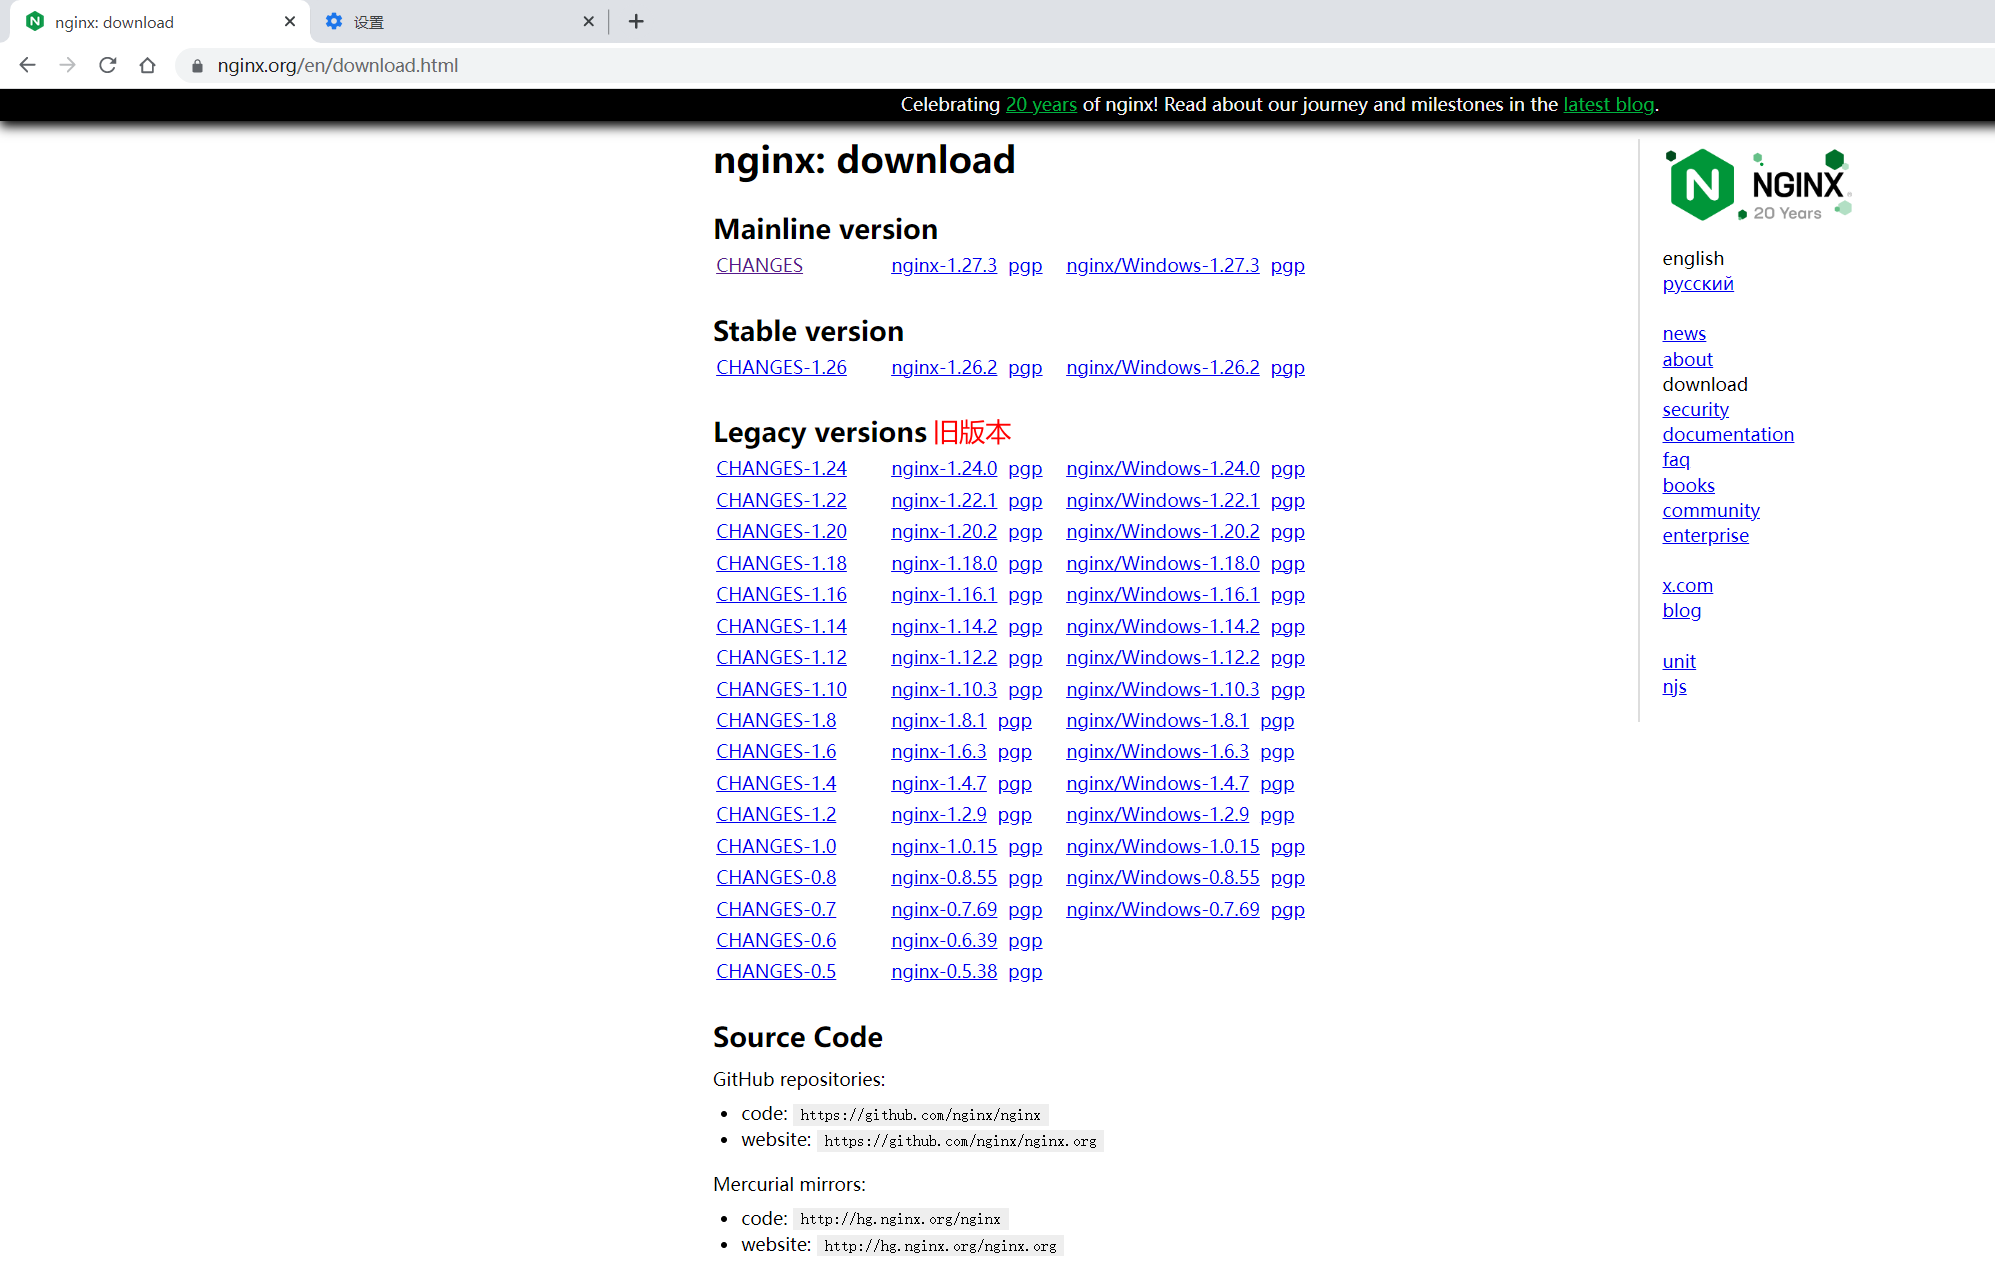
wget https://nginx.org/download/nginx-1.14.2.tar.gz

[root@localhost ~]# wget https://nginx.org/download/nginx-1.14.2.tar.gz
--2024-12-20 07:47:44--  https://nginx.org/download/nginx-1.14.2.tar.gz
Resolving nginx.org (nginx.org)... 3.125.197.172, 52.58.199.22, 2a05:d014:5c0:2601::6, ...
Connecting to nginx.org (nginx.org)|3.125.197.172|:443... connected.
HTTP request sent, awaiting response... 200 OK
Length: 1015384 (992K) [application/octet-stream]
Saving to: ‘nginx-1.14.2.tar.gz’

100%[==============================================================================================>] 1,015,384    685KB/s   in 1.4s

2024-12-20 07:47:47 (685 KB/s) - ‘nginx-1.14.2.tar.gz’ saved [1015384/1015384]

[root@localhost ~]# ll nginx-1.14.2.tar.gz -h
-rw-r--r--. 1 root root 992K Dec 4 2018 nginx-1.14.2.tar.gz2、解压
[root@localhost ~]# tar xf nginx-1.14.2.tar.gz
[root@localhost ~]# cd nginx-1.14.2
[root@localhost nginx-1.14.2]# ll
total 732
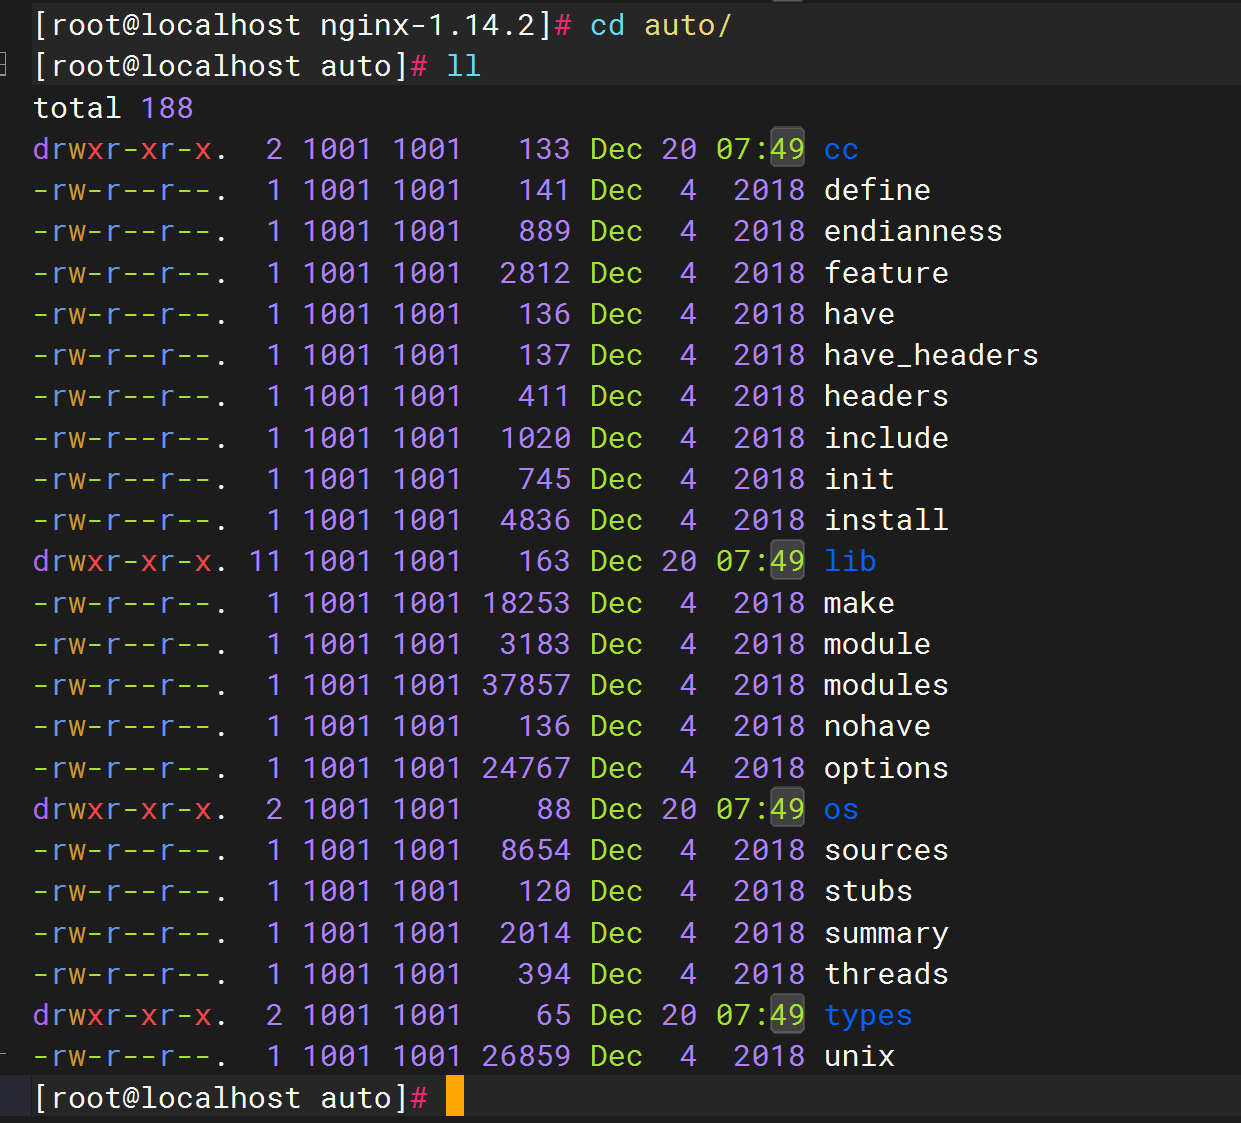
drwxr-xr-x. 6 1001 1001 4096 Dec 20 07:49 auto
-rw-r--r--. 1 1001 1001 288742 Dec 4 2018 CHANGES
-rw-r--r--. 1 1001 1001 440121 Dec 4 2018 CHANGES.ru
drwxr-xr-x. 2 1001 1001 168 Dec 20 07:49 conf #示例脚本
-rwxr-xr-x. 1 1001 1001 2502 Dec 4 2018 configure
drwxr-xr-x. 4 1001 1001 72 Dec 20 07:49 contrib
drwxr-xr-x. 2 1001 1001 40 Dec 20 07:49 html
-rw-r--r--. 1 1001 1001 1397 Dec 4 2018 LICENSE
drwxr-xr-x. 2 1001 1001 21 Dec 20 07:49 man
-rw-r--r--. 1 1001 1001 49 Dec 4 2018 README
drwxr-xr-x. 9 1001 1001 91 Dec 20 07:49 src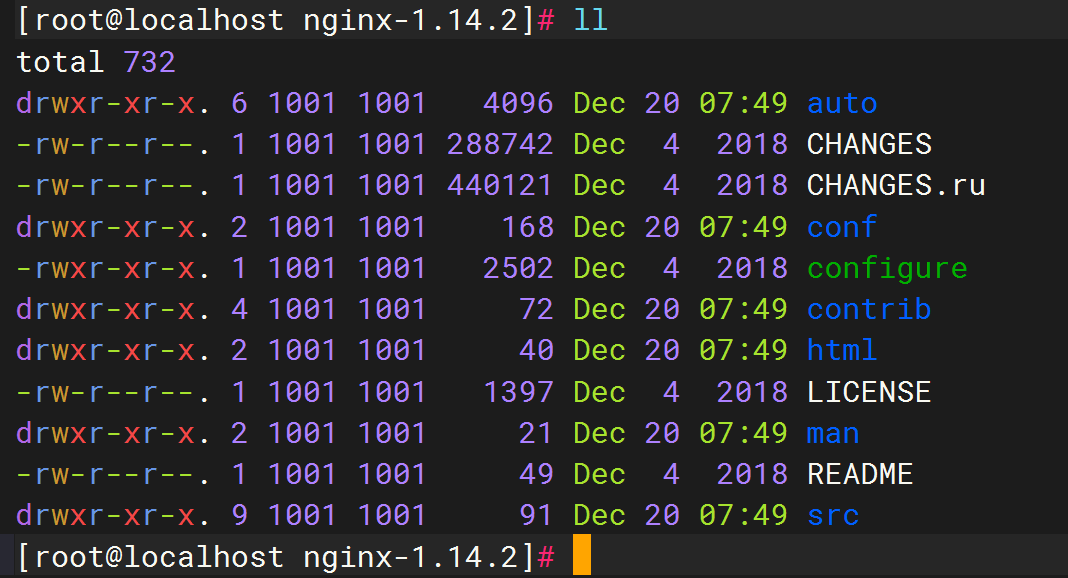
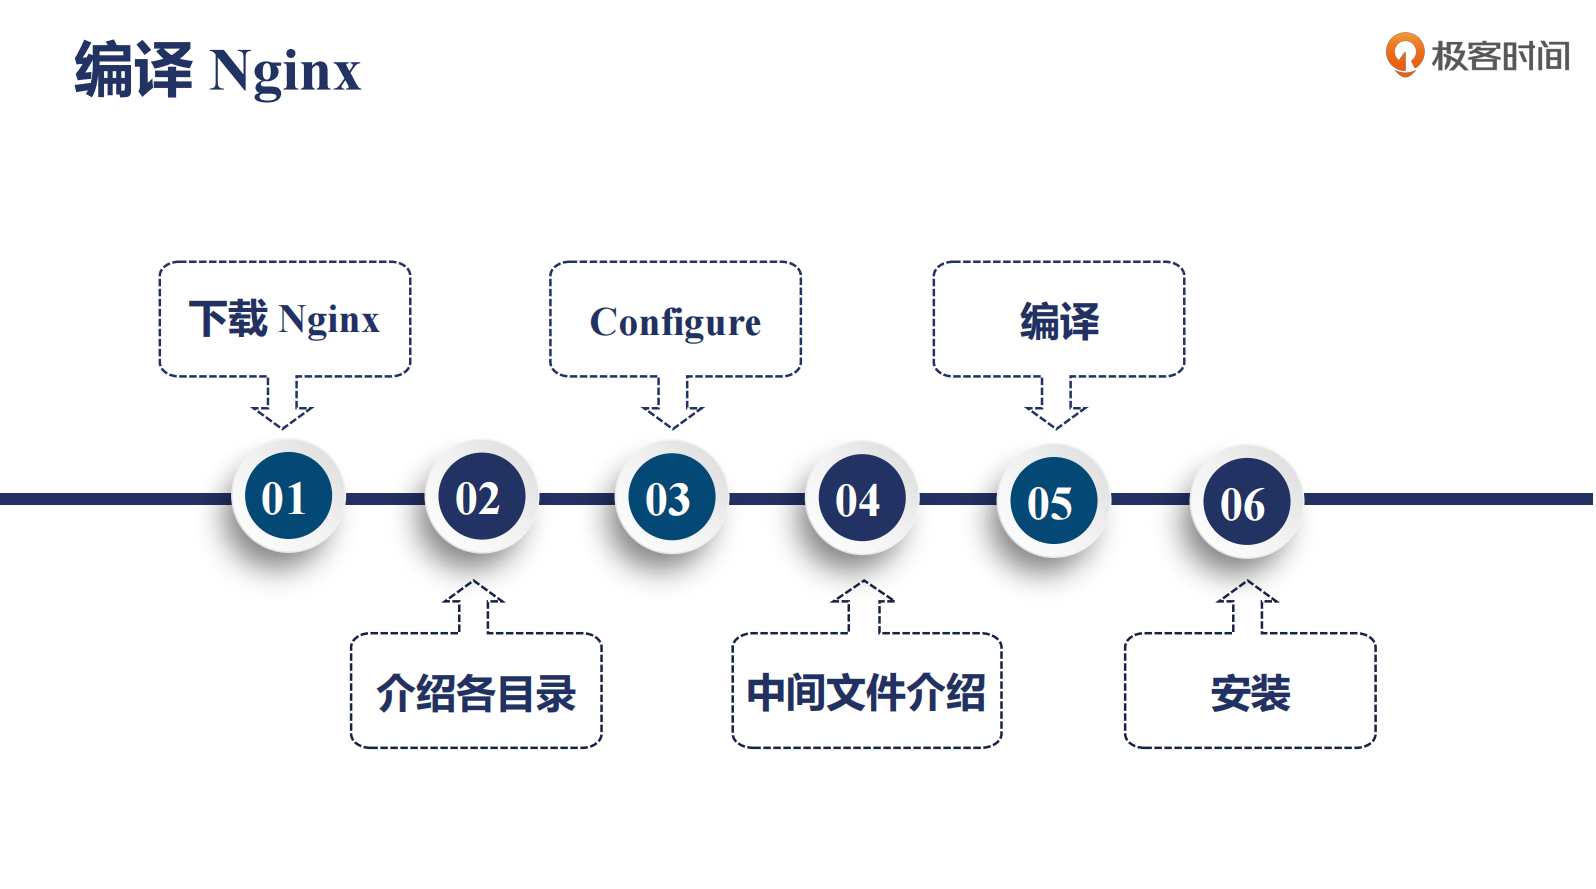
3、源码编译安装
[root@localhost nginx-1.14.2]# mkdir -p /home/geek/nginx
[root@localhost nginx-1.14.2]# ./configure --prefix=/home/geek/nginx

#configure,它会引用auto目录下的一系列bash脚本
🍊执行make编译
[root@localhost nginx-1.14.2]# make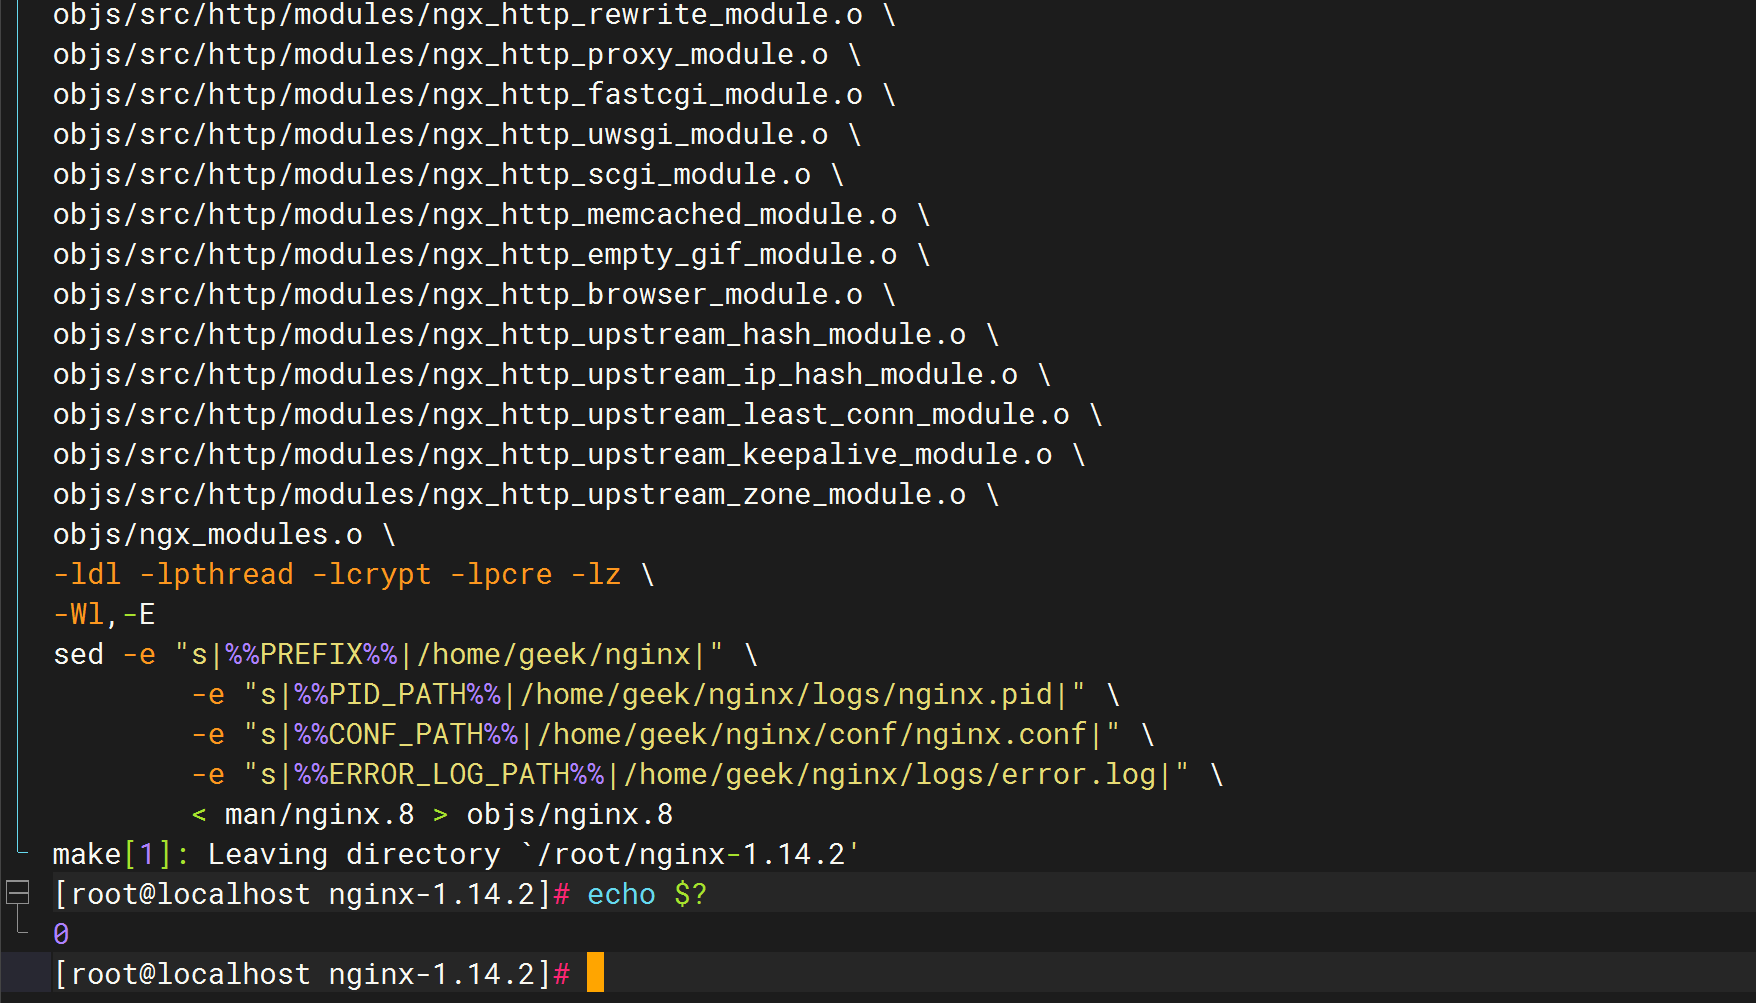
生成了nginx的目标文件:
🍊安装
[root@localhost nginx-1.14.2]# make install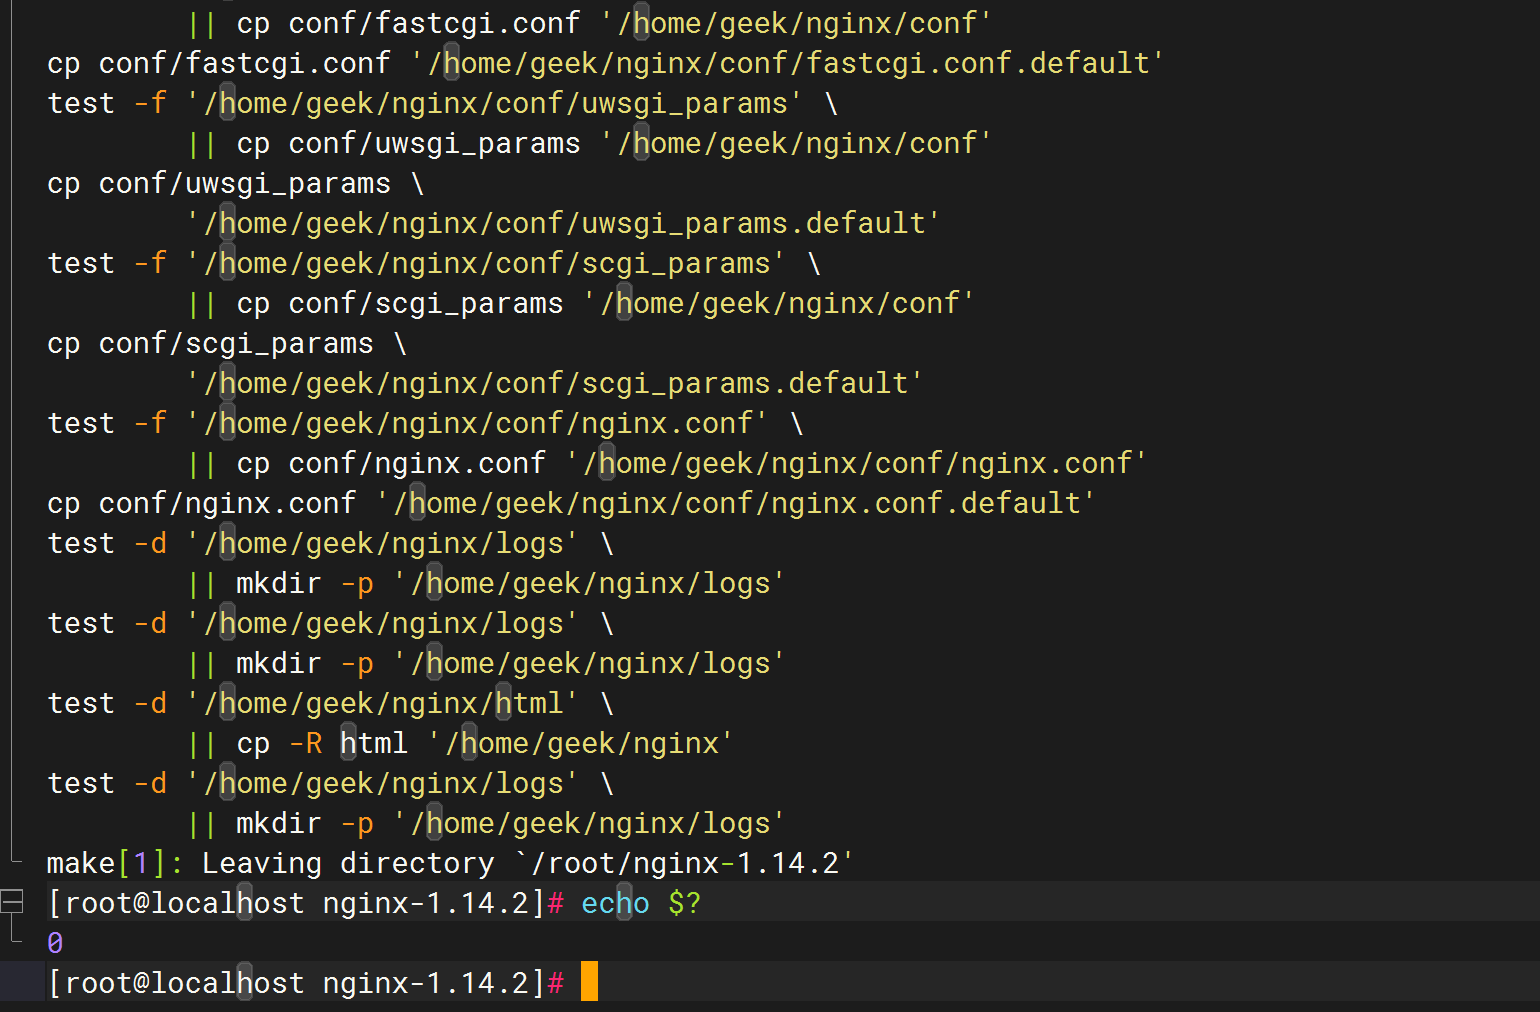
来到nginx安装目录查看下:
[root@localhost nginx-1.14.2]# cd
[root@localhost ~]# cd /home/geek/nginx/
[root@localhost nginx]# ll
total 4
drwxr-xr-x. 2 root root 4096 Dec 30 07:21 conf
drwxr-xr-x. 2 root root   40 Dec 30 07:21 html
drwxr-xr-x. 2 root root    6 Dec 30 07:21 logs
drwxr-xr-x. 2 root root   19 Dec 30 07:21 sbin
[root@localhost nginx]# ll sbin/
total 3660
-rwxr-xr-x. 1 root root 3746424 Dec 30 07:21 nginx
[root@localhost nginx]# ll conf/
total 68
-rw-r--r--. 1 root root 1077 Dec 30 07:21 fastcgi.conf
-rw-r--r--. 1 root root 1077 Dec 30 07:21 fastcgi.conf.default
-rw-r--r--. 1 root root 1007 Dec 30 07:21 fastcgi_params
-rw-r--r--. 1 root root 1007 Dec 30 07:21 fastcgi_params.default
-rw-r--r--. 1 root root 2837 Dec 30 07:21 koi-utf
-rw-r--r--. 1 root root 2223 Dec 30 07:21 koi-win
-rw-r--r--. 1 root root 5170 Dec 30 07:21 mime.types
-rw-r--r--. 1 root root 5170 Dec 30 07:21 mime.types.default
-rw-r--r--. 1 root root 2656 Dec 30 07:21 nginx.conf
-rw-r--r--. 1 root root 2656 Dec 30 07:21 nginx.conf.default
-rw-r--r--. 1 root root  636 Dec 30 07:21 scgi_params
-rw-r--r--. 1 root root  636 Dec 30 07:21 scgi_params.default
-rw-r--r--. 1 root root  664 Dec 30 07:21 uwsgi_params
-rw-r--r--. 1 root root  664 Dec 30 07:21 uwsgi_params.default
-rw-r--r--. 1 root root 3610 Dec 30 07:21 win-utf
[root@localhost nginx]#安装完成。
结束。
FAQ
介绍下目录结构
让nginx的conf文件使用vim打开后能够语法高亮
提示
小技巧:让nginx的conf文件能够语法高亮。
contrib目录是用来让vim打开配置文件时里代码能高亮显示:
默认用vim打开nginx配置文件是没高亮显示的:
[root@localhost nginx-1.14.2]# vim conf/nginx.conf
拷贝内容:
[root@localhost nginx-1.14.2]# mkdir ~/.vim
[root@localhost nginx-1.14.2]# cp -a contrib/vim/* ~/.vim/再次验证:
[root@localhost nginx-1.14.2]# vim conf/nginx.conf
此时语法就高亮了。
看下config支持哪些参数?
[root@localhost nginx-1.14.2]# ./configure --help|more


#编译过程中需要在哪些目录里找
  --prefix=PATH                      set installation prefix
  --sbin-path=PATH                   set nginx binary pathname
  --modules-path=PATH                set modules path #动态模块
  --conf-path=PATH                   set nginx.conf pathname
  --error-log-path=PATH              set error log pathname
  --pid-path=PATH                    set nginx.pid pathname
  --lock-path=PATH                   set nginx.lock pathname #acess.log文件放在哪里

  #如果没有任何变动的话,只需要指定--prefix,其它所有目录都会在prefix目录下自行创建。


 # --with开头,编译时要启用哪些模块
  --with-http_ssl_module             enable ngx_http_ssl_module
  --with-http_v2_module              enable ngx_http_v2_module
  --with-http_realip_module          enable ngx_http_realip_module
  --with-http_addition_module        enable ngx_http_addition_module


  # --without开头,编译时要不启用哪些模块(从默认安装的nginx模块移出)
  --without-http_charset_module      disable ngx_http_charset_module
  --without-http_gzip_module         disable ngx_http_gzip_module
--without-http_ssi_module disable ngx_http_ssi_module安装过程出现的问题
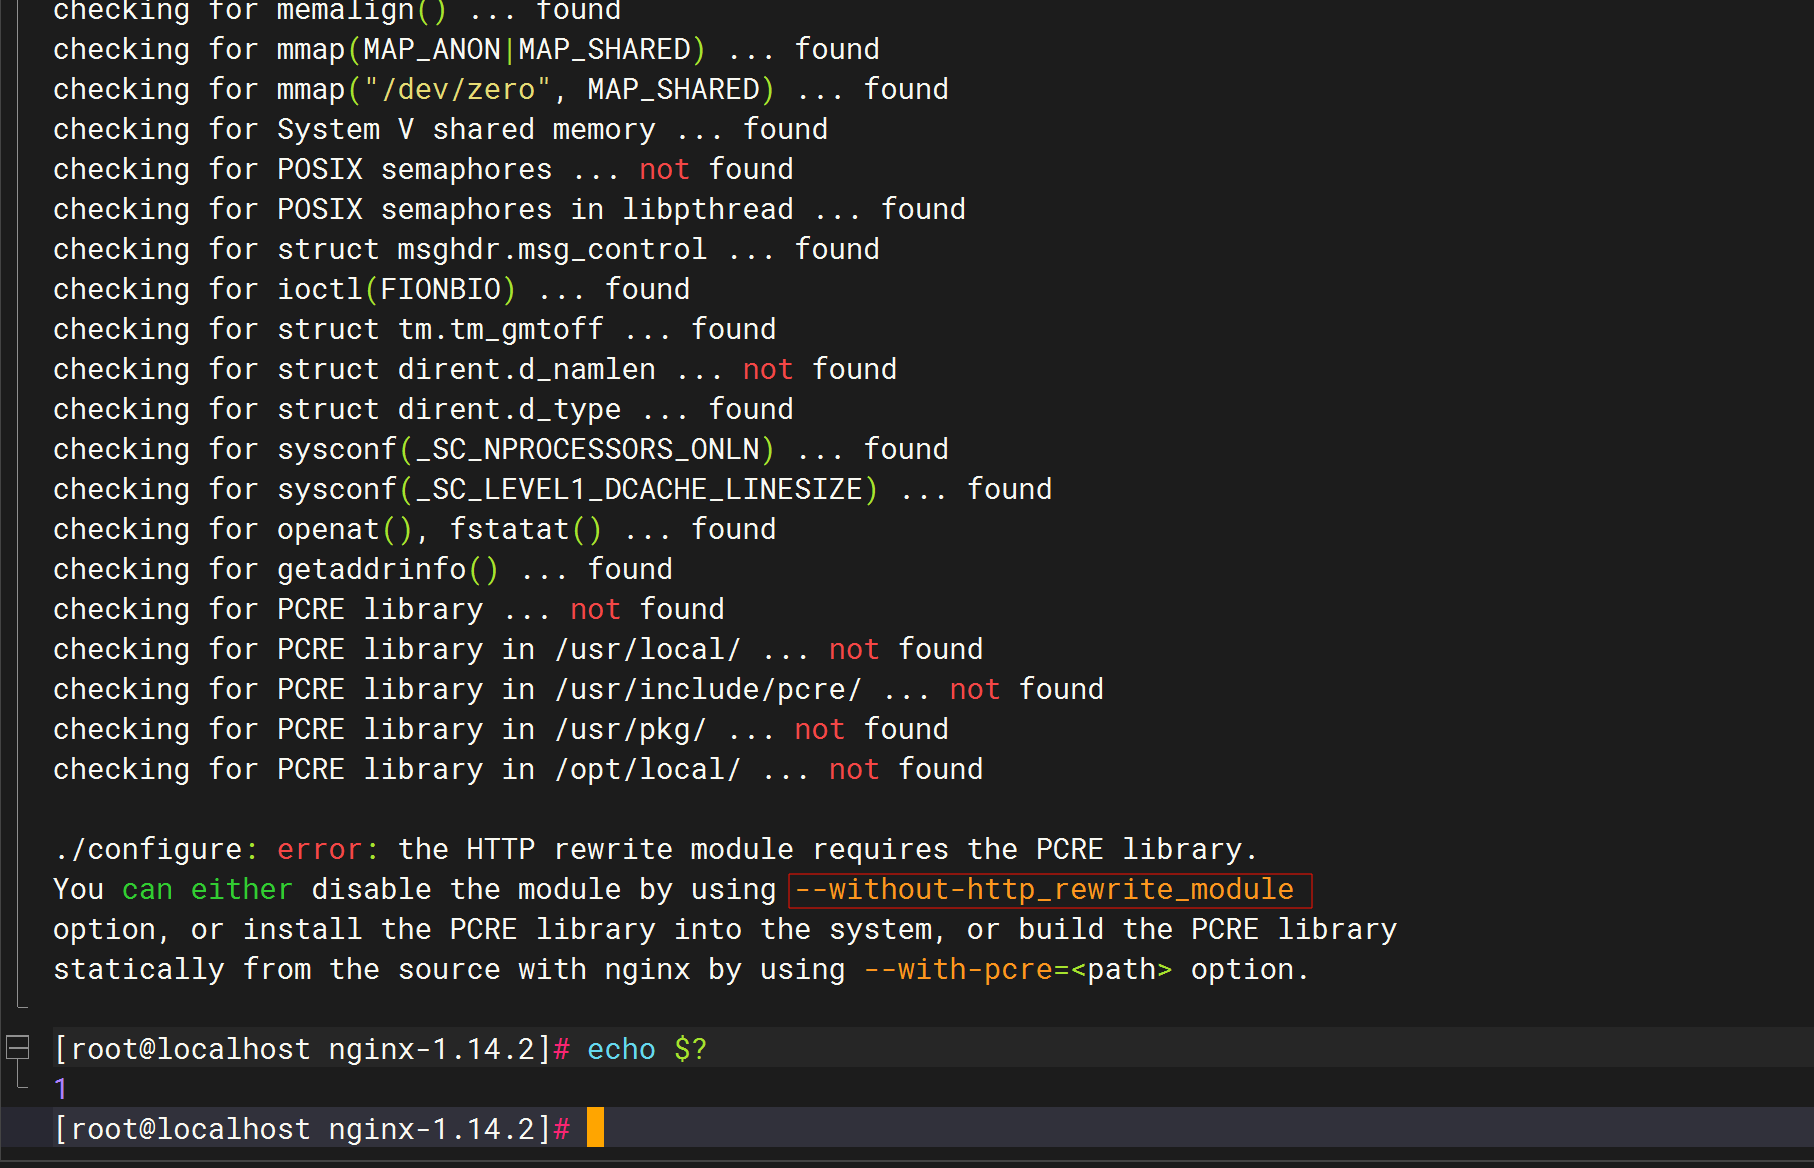
自己的报错了:。。。。
checking for PCRE library ... not found
checking for PCRE library in /usr/local/ ... not found
checking for PCRE library in /usr/include/pcre/ ... not found
checking for PCRE library in /usr/pkg/ ... not found
checking for PCRE library in /opt/local/ ... not found

./configure: error: the HTTP rewrite module requires the PCRE library.
You can either disable the module by using --without-http_rewrite_module
option, or install the PCRE library into the system, or build the PCRE library
statically from the source with nginx by using --with-pcre=<path> option.

[root@localhost nginx-1.14.2]# echo $?
1安装完成后会生成一个目录:
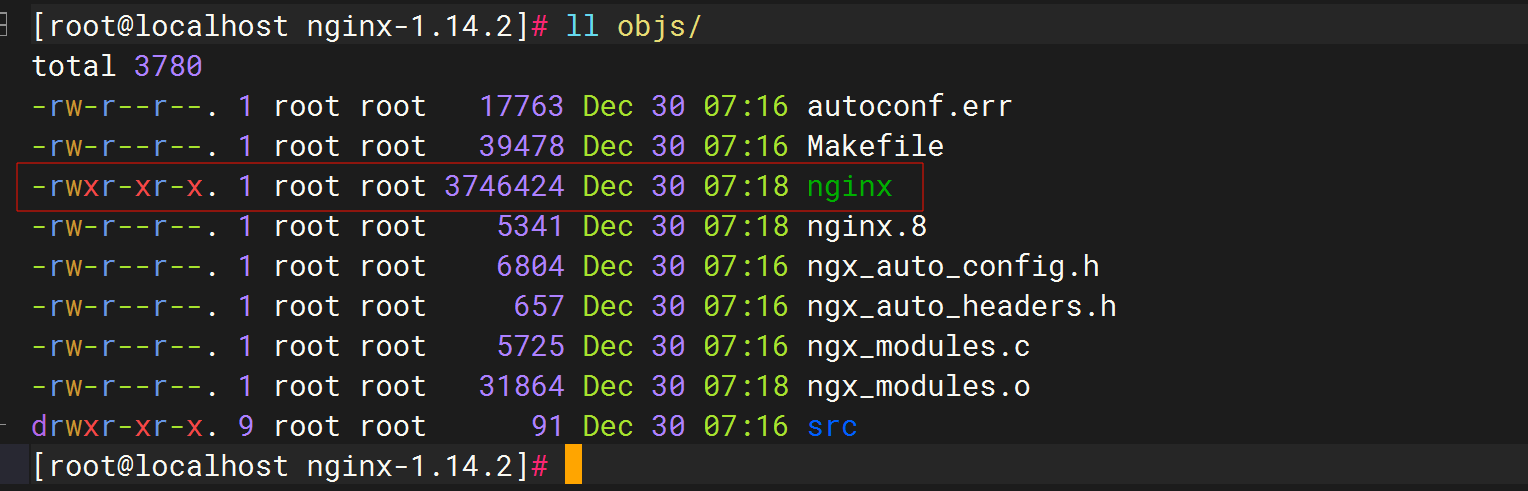
[root@localhost nginx-1.14.2]# ll objs/
total 44
-rw-r--r--. 1 root root 20481 Dec 30 07:06 autoconf.err
-rw-r--r--. 1 root root  5401 Dec 30 07:06 ngx_auto_config.h
-rw-r--r--. 1 root root   657 Dec 30 07:06 ngx_auto_headers.h
-rw-r--r--. 1 root root  5725 Dec 30 07:06 ngx_modules.c #主要看这个目录,里面说明了哪些模块最终会被编译到Nginx里去。


#include <ngx_config.h>
#include <ngx_core.h>


[root@localhost nginx-1.14.2]# vim objs/ngx_modules.c
extern ngx_module_t  ngx_core_module;
extern ngx_module_t  ngx_errlog_module;
extern ngx_module_t  ngx_conf_module;
extern ngx_module_t  ngx_regex_module;
extern ngx_module_t  ngx_events_module;
extern ngx_module_t  ngx_event_core_module;
extern ngx_module_t  ngx_epoll_module;
extern ngx_module_t  ngx_http_module;
extern ngx_module_t  ngx_http_core_module;
……🍊解决报错
checking for PCRE library ... not found
checking for PCRE library in /usr/local/ ... not found
checking for PCRE library in /usr/include/pcre/ ... not found
checking for PCRE library in /usr/pkg/ ... not found
checking for PCRE library in /opt/local/ ... not found

./configure: error: the HTTP rewrite module requires the PCRE library.
You can either disable the module by using --without-http_rewrite_module
option, or install the PCRE library into the system, or build the PCRE library
statically from the source with nginx by using --with-pcre=<path> option.

[root@localhost nginx-1.14.2]# echo $?
1

报错了?是的,根据您提供的信息,报错信息显示在编译 nginx 时找不到 PCRE 库。PCRE(Perl Compatible Regular Expressions)是一个支持正则表达式的库,nginx 的 HTTP rewrite 模块依赖于这个库。
要解决这个问题,您可以按照以下步骤之一进行操作:
安装 PCRE 库:
- 如果您使用的是 Linux 系统,可以通过包管理器安装 PCRE 库。例如在 CentOS 系统上,可以使用
yum install pcre pcre-devel命令安装 PCRE 库。 - 如果您使用的是其他系统,可以根据系统类型自行搜索安装 PCRE 库的方法。
- 如果您使用的是 Linux 系统,可以通过包管理器安装 PCRE 库。例如在 CentOS 系统上,可以使用
指定 PCRE 库路径:
- 如果您已经安装了 PCRE 库,但 nginx 无法找到它,可以尝试使用
--with-pcre=<path>选项来指定 PCRE 库的路径。例如:./configure --with-pcre=/usr/local/pcre。
- 如果您已经安装了 PCRE 库,但 nginx 无法找到它,可以尝试使用
禁用 HTTP rewrite 模块:
- 如果您不需要 HTTP rewrite 模块,可以在配置 nginx 时使用
--without-http_rewrite_module选项来禁用该模块。
- 如果您不需要 HTTP rewrite 模块,可以在配置 nginx 时使用
您可以根据您的需求选择其中一种方法来解决问题。如果需要进一步的帮助或有其他问题,请随时告诉我。祝您顺利解决问题!
自己测试:
yum install pcre pcre-devel -y安装完成,再次编译前检查
[root@localhost nginx-1.14.2]# ./configure --prefix=/home/geek/nginx


又报错了:
checking for zlib library ... not found

./configure: error: the HTTP gzip module requires the zlib library.
You can either disable the module by using --without-http_gzip_module
option, or install the zlib library into the system, or build the zlib library
statically from the source with nginx by using --with-zlib=<path> option.

[root@localhost nginx-1.14.2]#这次的报错是因为编译 nginx 时找不到 zlib 库。zlib 是一个提供数据压缩和解压功能的库,nginx 的 HTTP gzip 模块需要依赖于 zlib 库。
您可以按照以下步骤中的一种来解决这个问题:
安装 zlib 库:
- 如果您使用的是 Linux 系统,您可以通过包管理器安装 zlib 库。例如在 CentOS 系统上,可以使用
yum install zlib zlib-devel命令来安装 zlib 库。 - 如果您使用的是其他系统,您可以根据系统类型自行搜索安装 zlib 库的方法。
- 如果您使用的是 Linux 系统,您可以通过包管理器安装 zlib 库。例如在 CentOS 系统上,可以使用
指定 zlib 库路径:
- 如果您已经安装了 zlib 库,但 nginx 无法找到它,可以尝试使用
--with-zlib=<path>选项来指定 zlib 库的路径。例如:./configure --with-zlib=/usr/local/zlib。
- 如果您已经安装了 zlib 库,但 nginx 无法找到它,可以尝试使用
禁用 HTTP gzip 模块:
- 如果您不需要 HTTP gzip 模块,可以在配置 nginx 时使用
--without-http_gzip_module选项来禁用该模块。
- 如果您不需要 HTTP gzip 模块,可以在配置 nginx 时使用
您可以根据您的需求选择其中一种方法来解决问题。如果需要进一步的帮助或有其他问题,请随时告诉我。祝您顺利解决问题!
再次测试:
yum install zlib zlib-devel -y

[root@localhost nginx-1.14.2]# ./configure --prefix=/home/geek/nginx这次终于安装成功了:
🍊执行make编译
[root@localhost nginx-1.14.2]# make
生成了nginx的目标文件:
🍊安装
[root@localhost nginx-1.14.2]# make install
来到nginx安装目录查看下:
[root@localhost nginx-1.14.2]# cd
[root@localhost ~]# cd /home/geek/nginx/
[root@localhost nginx]# ll
total 4
drwxr-xr-x. 2 root root 4096 Dec 30 07:21 conf
drwxr-xr-x. 2 root root   40 Dec 30 07:21 html
drwxr-xr-x. 2 root root    6 Dec 30 07:21 logs
drwxr-xr-x. 2 root root   19 Dec 30 07:21 sbin
[root@localhost nginx]# ll sbin/
total 3660
-rwxr-xr-x. 1 root root 3746424 Dec 30 07:21 nginx
[root@localhost nginx]# ll conf/
total 68
-rw-r--r--. 1 root root 1077 Dec 30 07:21 fastcgi.conf
-rw-r--r--. 1 root root 1077 Dec 30 07:21 fastcgi.conf.default
-rw-r--r--. 1 root root 1007 Dec 30 07:21 fastcgi_params
-rw-r--r--. 1 root root 1007 Dec 30 07:21 fastcgi_params.default
-rw-r--r--. 1 root root 2837 Dec 30 07:21 koi-utf
-rw-r--r--. 1 root root 2223 Dec 30 07:21 koi-win
-rw-r--r--. 1 root root 5170 Dec 30 07:21 mime.types
-rw-r--r--. 1 root root 5170 Dec 30 07:21 mime.types.default
-rw-r--r--. 1 root root 2656 Dec 30 07:21 nginx.conf
-rw-r--r--. 1 root root 2656 Dec 30 07:21 nginx.conf.default
-rw-r--r--. 1 root root  636 Dec 30 07:21 scgi_params
-rw-r--r--. 1 root root  636 Dec 30 07:21 scgi_params.default
-rw-r--r--. 1 root root  664 Dec 30 07:21 uwsgi_params
-rw-r--r--. 1 root root  664 Dec 30 07:21 uwsgi_params.default
-rw-r--r--. 1 root root 3610 Dec 30 07:21 win-utf
[root@localhost nginx]#安装完成。
结束。
需要提前安装好openssl openssl-devel包
我希望nginx未来能支持https,所以选了 --with-http_ssl_module,但是出现报错,
checking for OpenSSL library ... not found
checking for OpenSSL library in /usr/local/ ... not found
checking for OpenSSL library in /usr/pkg/ ... not found
checking for OpenSSL library in /opt/local/ ... not found

./configure: error: SSL modules require the OpenSSL library.
You can either do not enable the modules, or install the OpenSSL library
into the system, or build the OpenSSL library statically from the source
with nginx by using --with-openssl=<path> option.


 你需要安装openssl,如果是centos系统,可以用yum install -y openssl openssl-devel来安装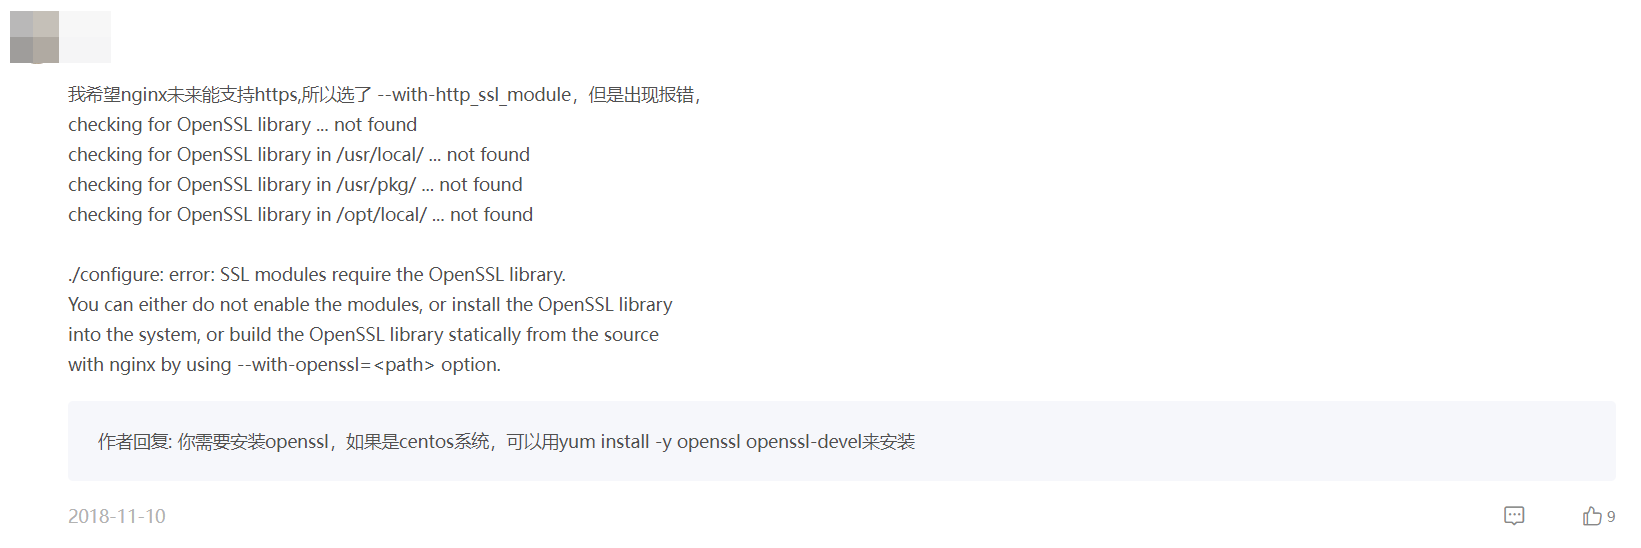
案例:源码安装编译后生成的目录
(是的呢,我也是一样的现象)

 1、make只会在源代码目录时,生成objs目录及目录中的内容。而make install,会把objs目录中的内容,拷贝到--prefix目录中,例如你的/home/geep/nginx。建议你分开执行,执行完一步后观察哪些文件发生了变化。
2、对的。当你运行后,特别是指令的不同,nginx会生成新的目录和文件。案例
老师,我编译出来后的目录只有 client_body_temp fastcgi_temp logs sbin uwsgi_temp conf html proxy_temp scgi_temp这几个,那个modules目录没有,这是什么情况呢?
作者回复: modules目录是放动态模块.so文件的。当你第一次configure加入动态模块后,make install就会新建这个目录。后续更新时,需要自己手动增加这个目录。
案例:指定worker进程的运行用户
指定worker进程的运行用户。用yum安装但很难用yum升级,热升级依赖我们对nginx的高度可控。

案例:彻底卸载编译安装的nginx目录

案例
老师好,升级nginx操作。我新下载的nginx在执行./configure的时候--prefix指定的目录是需要指向旧的nginx所指向的prefix目录还是随便指向一个就行。 在评论区木有找到答案哈哈
作者回复: 指向旧的目录
案例
请问Docker中部署NGINX有什么最佳实践可以分享的吗?
作者回复: 建议在docker里用bash自己用本课程的方法部署安装Nginx,不要自己使用别人编译好的Nginx,这样无法发挥Nginx的可插拔模块化的功能
关于我
我的博客主旨:
- 排版美观,语言精炼;
- 文档即手册,步骤明细,拒绝埋坑,提供源码;
- 本人实战文档都是亲测成功的,各位小伙伴在实际操作过程中如有什么疑问,可随时联系本人帮您解决问题,让我们一起进步!
🍀 个人网站
🍀 微信二维码
x2675263825 (舍得), qq:2675263825。

🍀 微信公众号
《云原生架构师实战》

🍀 csdn
https://blog.csdn.net/weixin_39246554?spm=1010.2135.3001.5421

🍀 知乎
https://www.zhihu.com/people/foryouone

最后
如果你还有疑惑,可以去我的网站查看更多内容或者联系我帮忙查看。
如果你有更好的方式,评论区留言告诉我。谢谢!
好了,本次就到这里了,感谢大家阅读,最后祝大家生活快乐,每天都过的有意义哦,我们下期见!